



 S7S 9005 H11

 Track Order
 My Vehicles
 Contact Us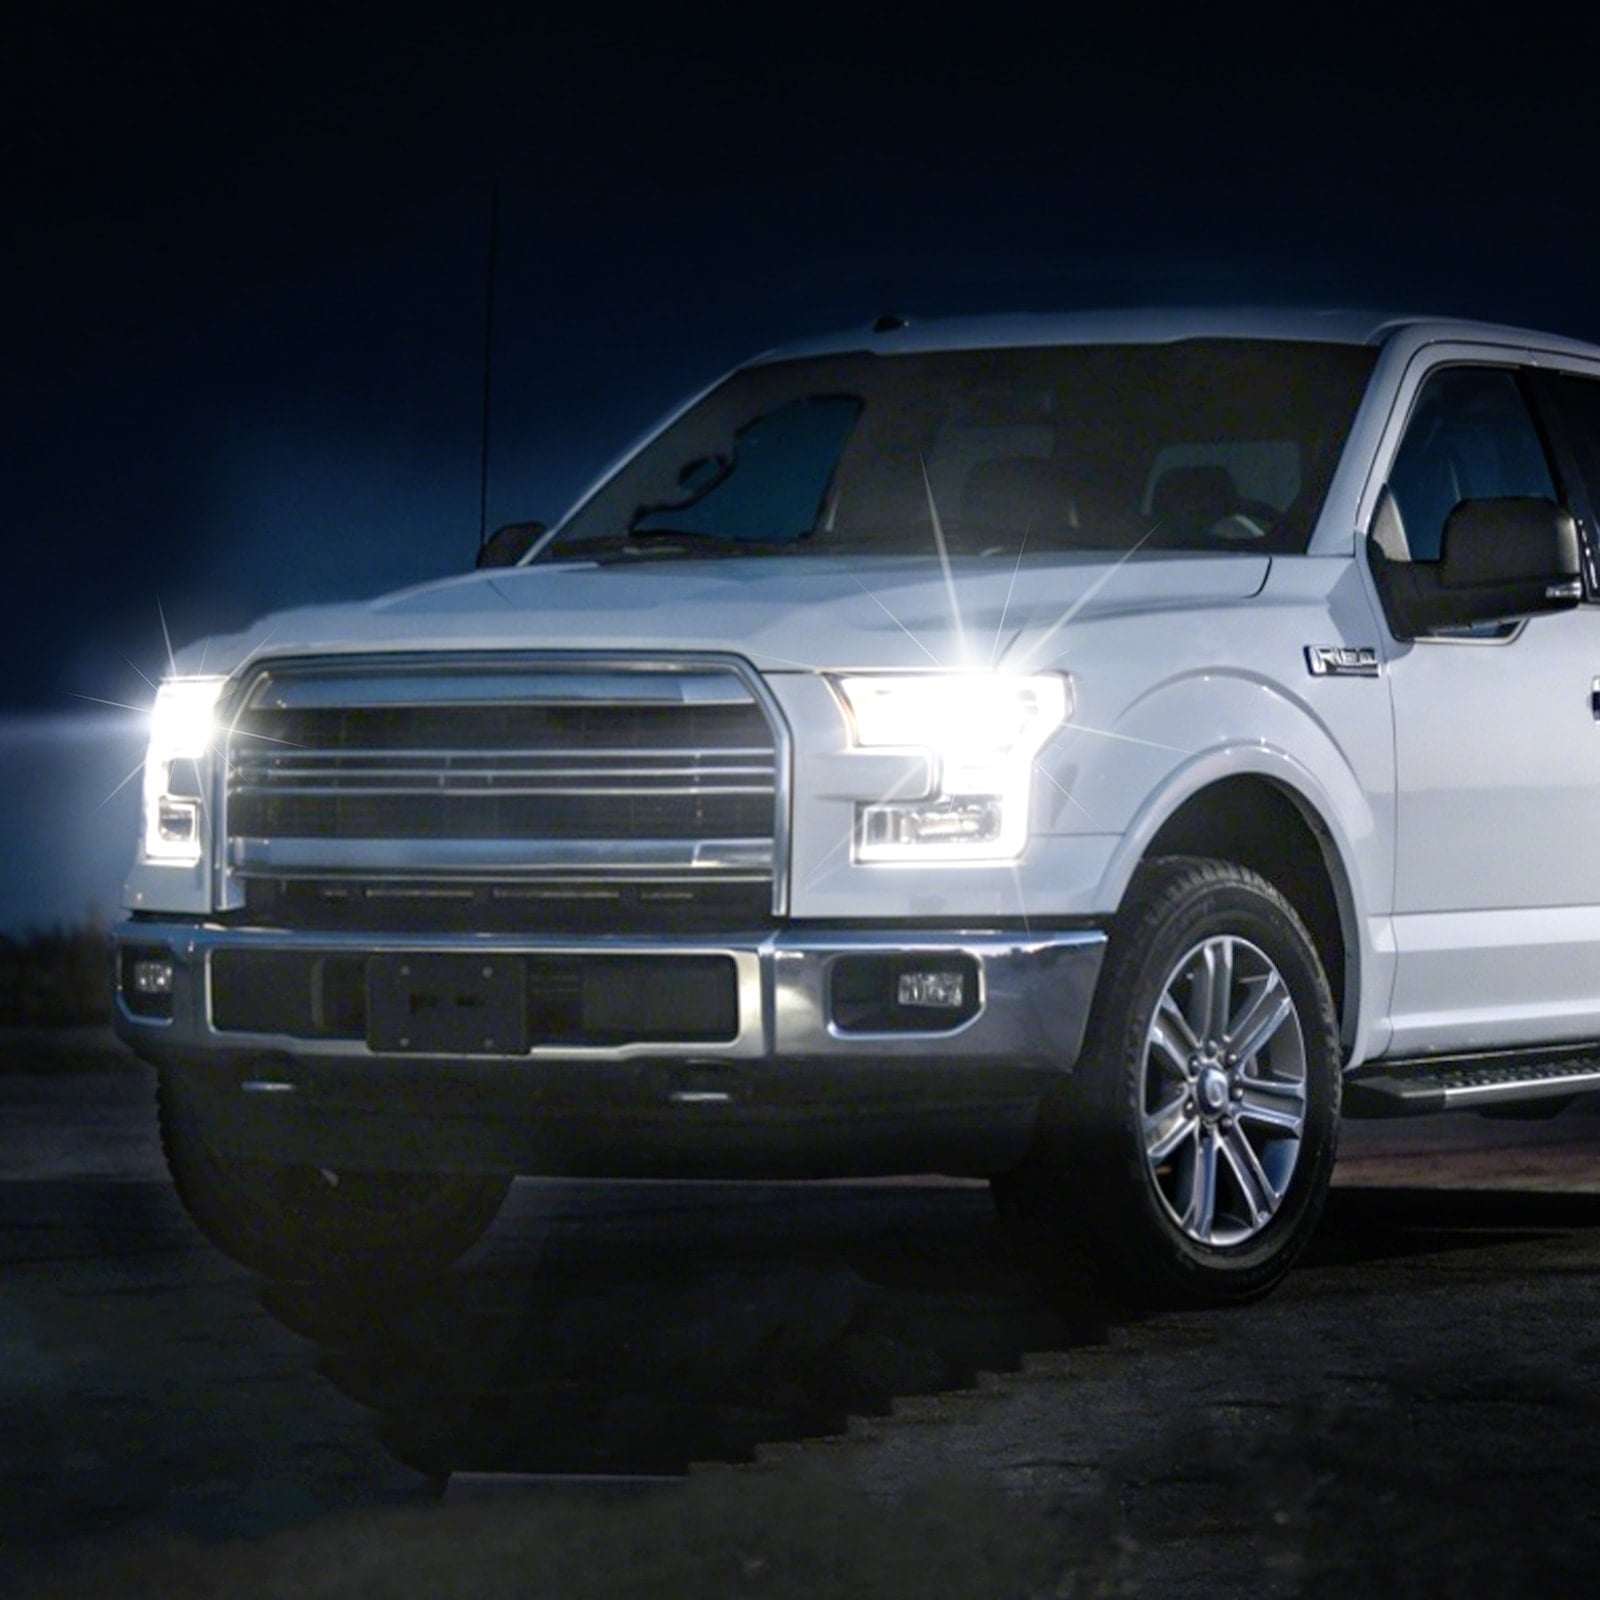





-69c35c81b5664.jpg)


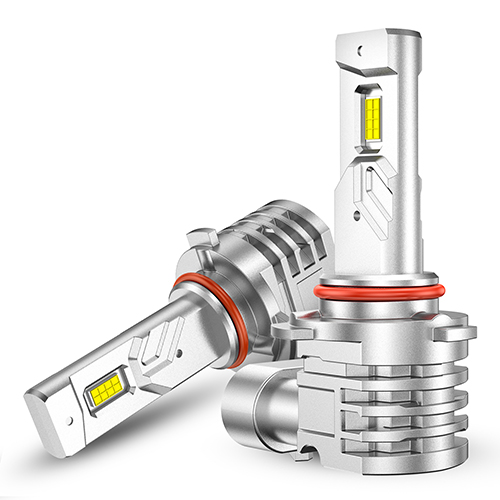
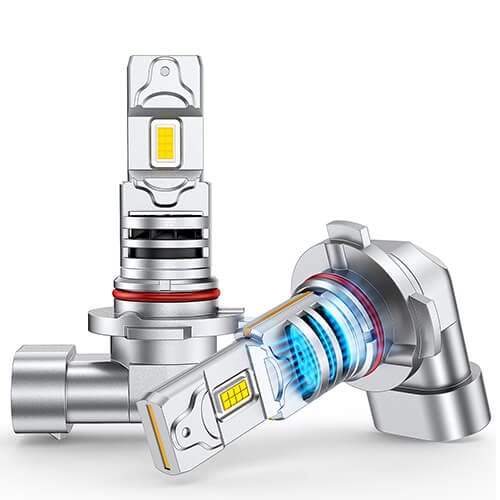



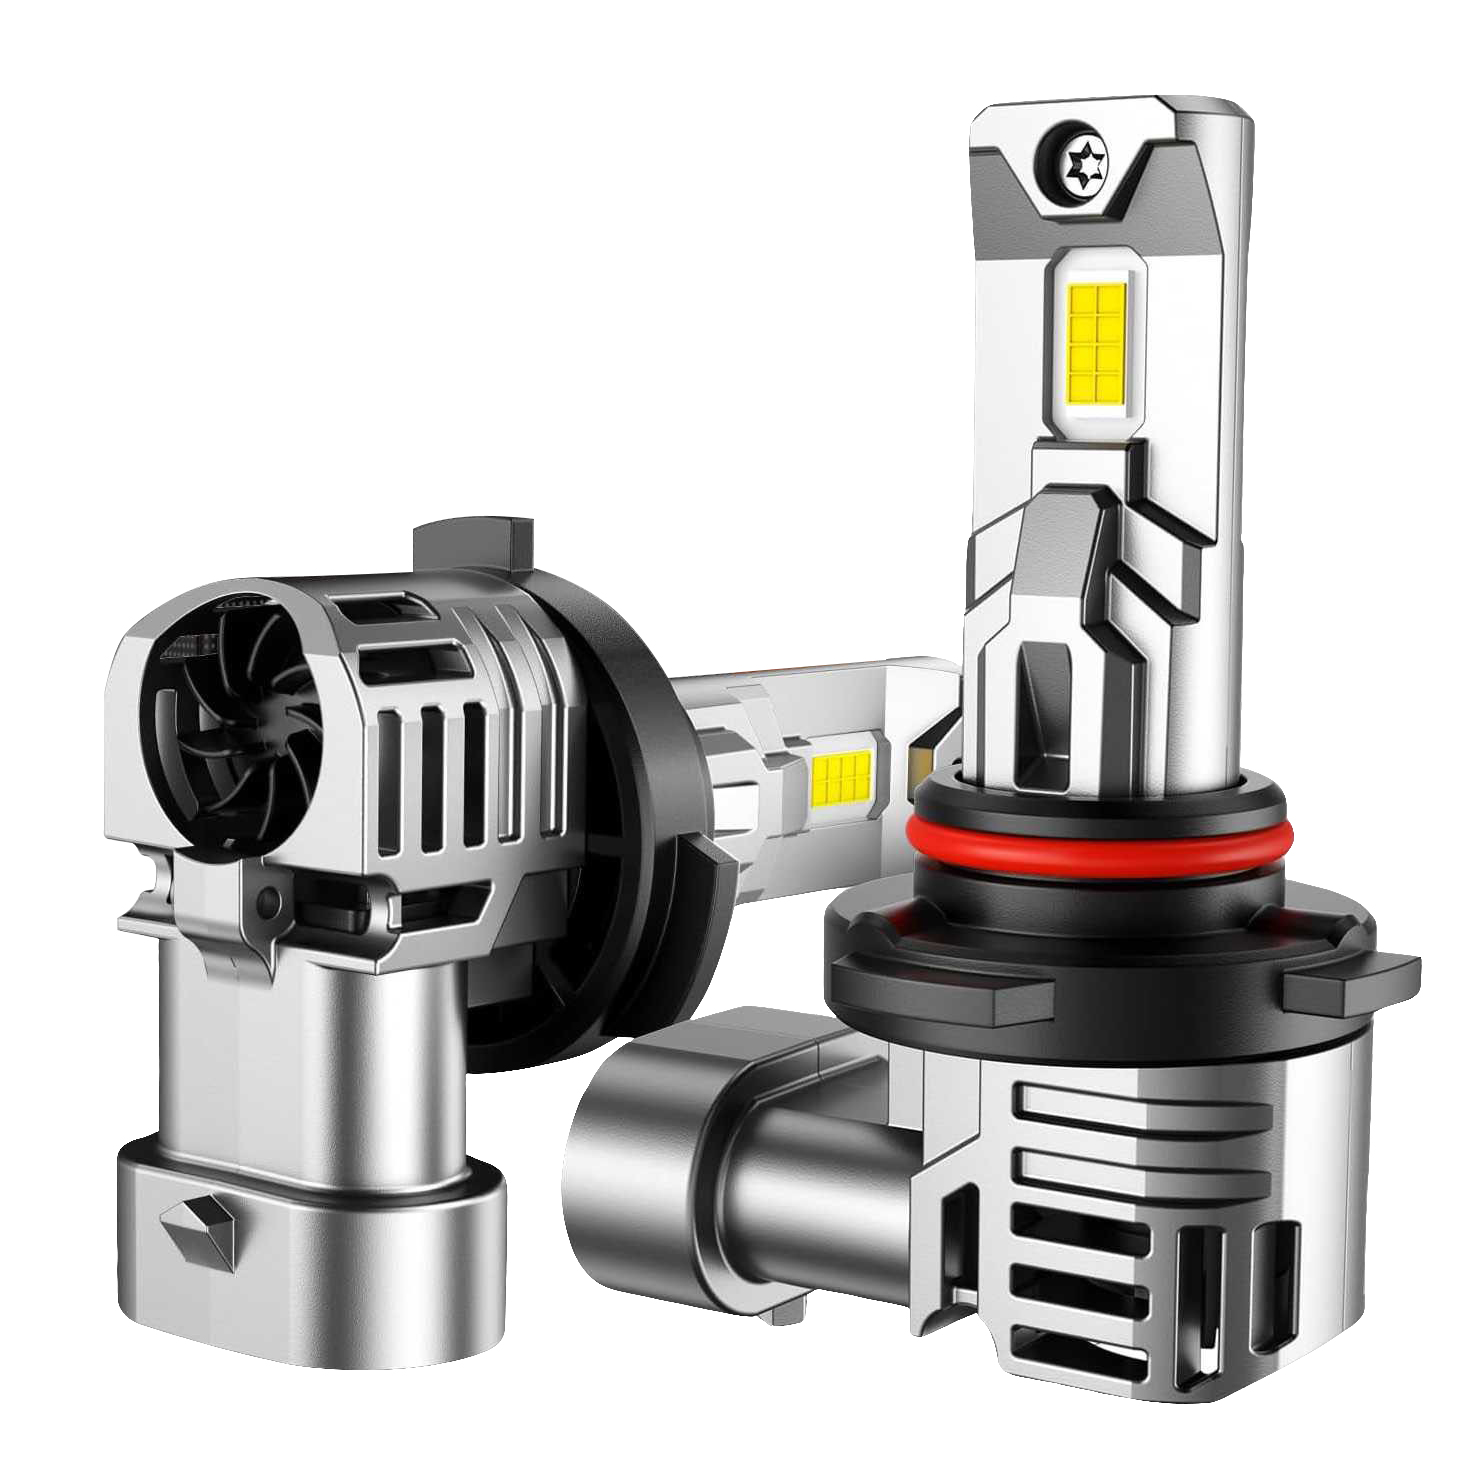


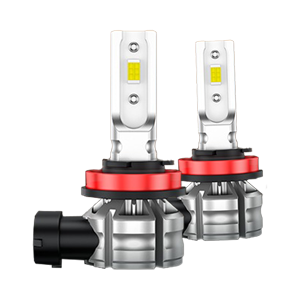


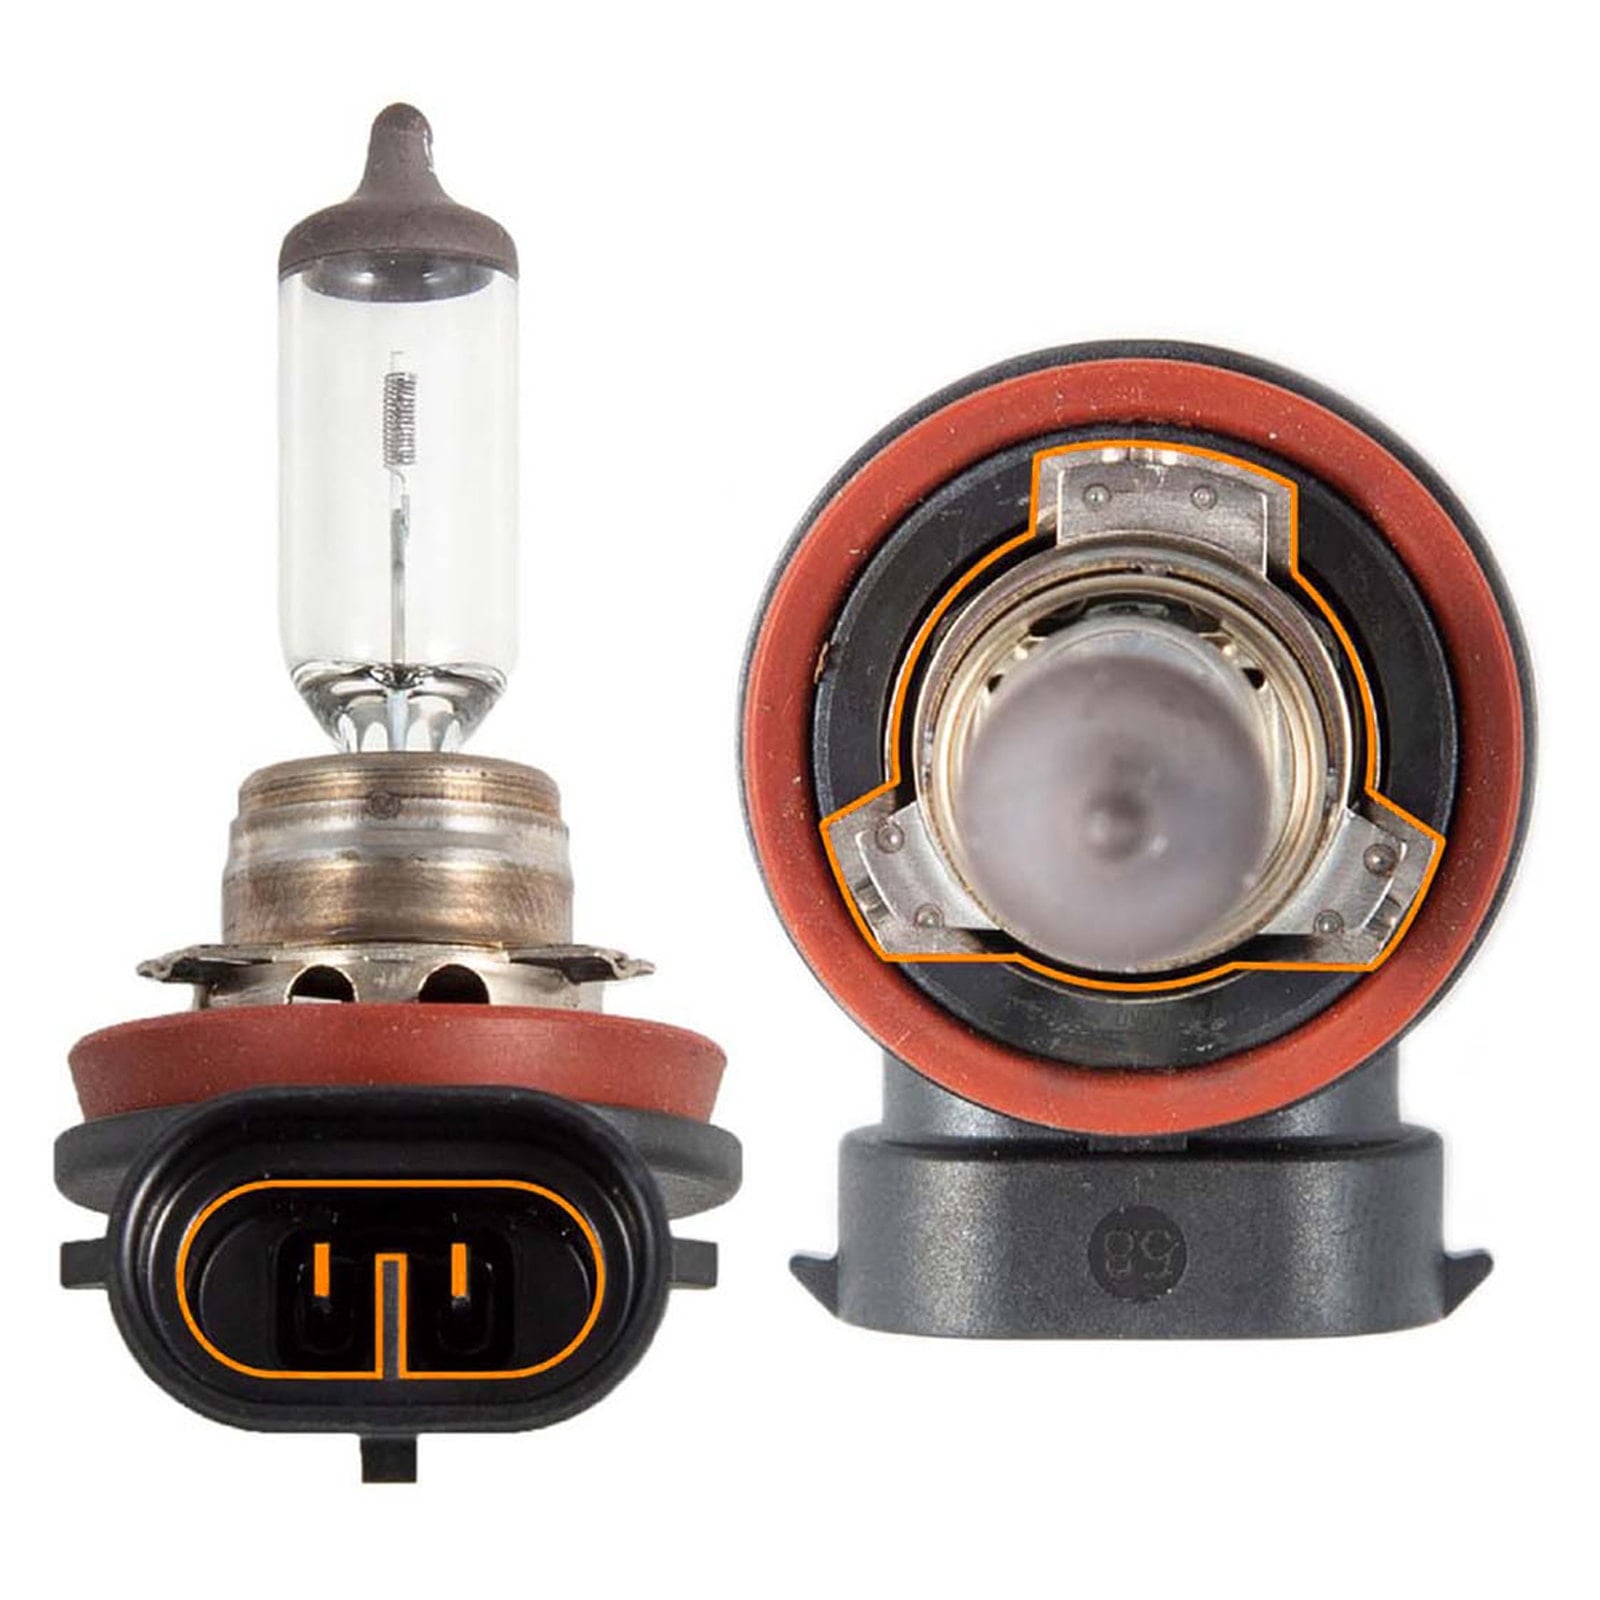
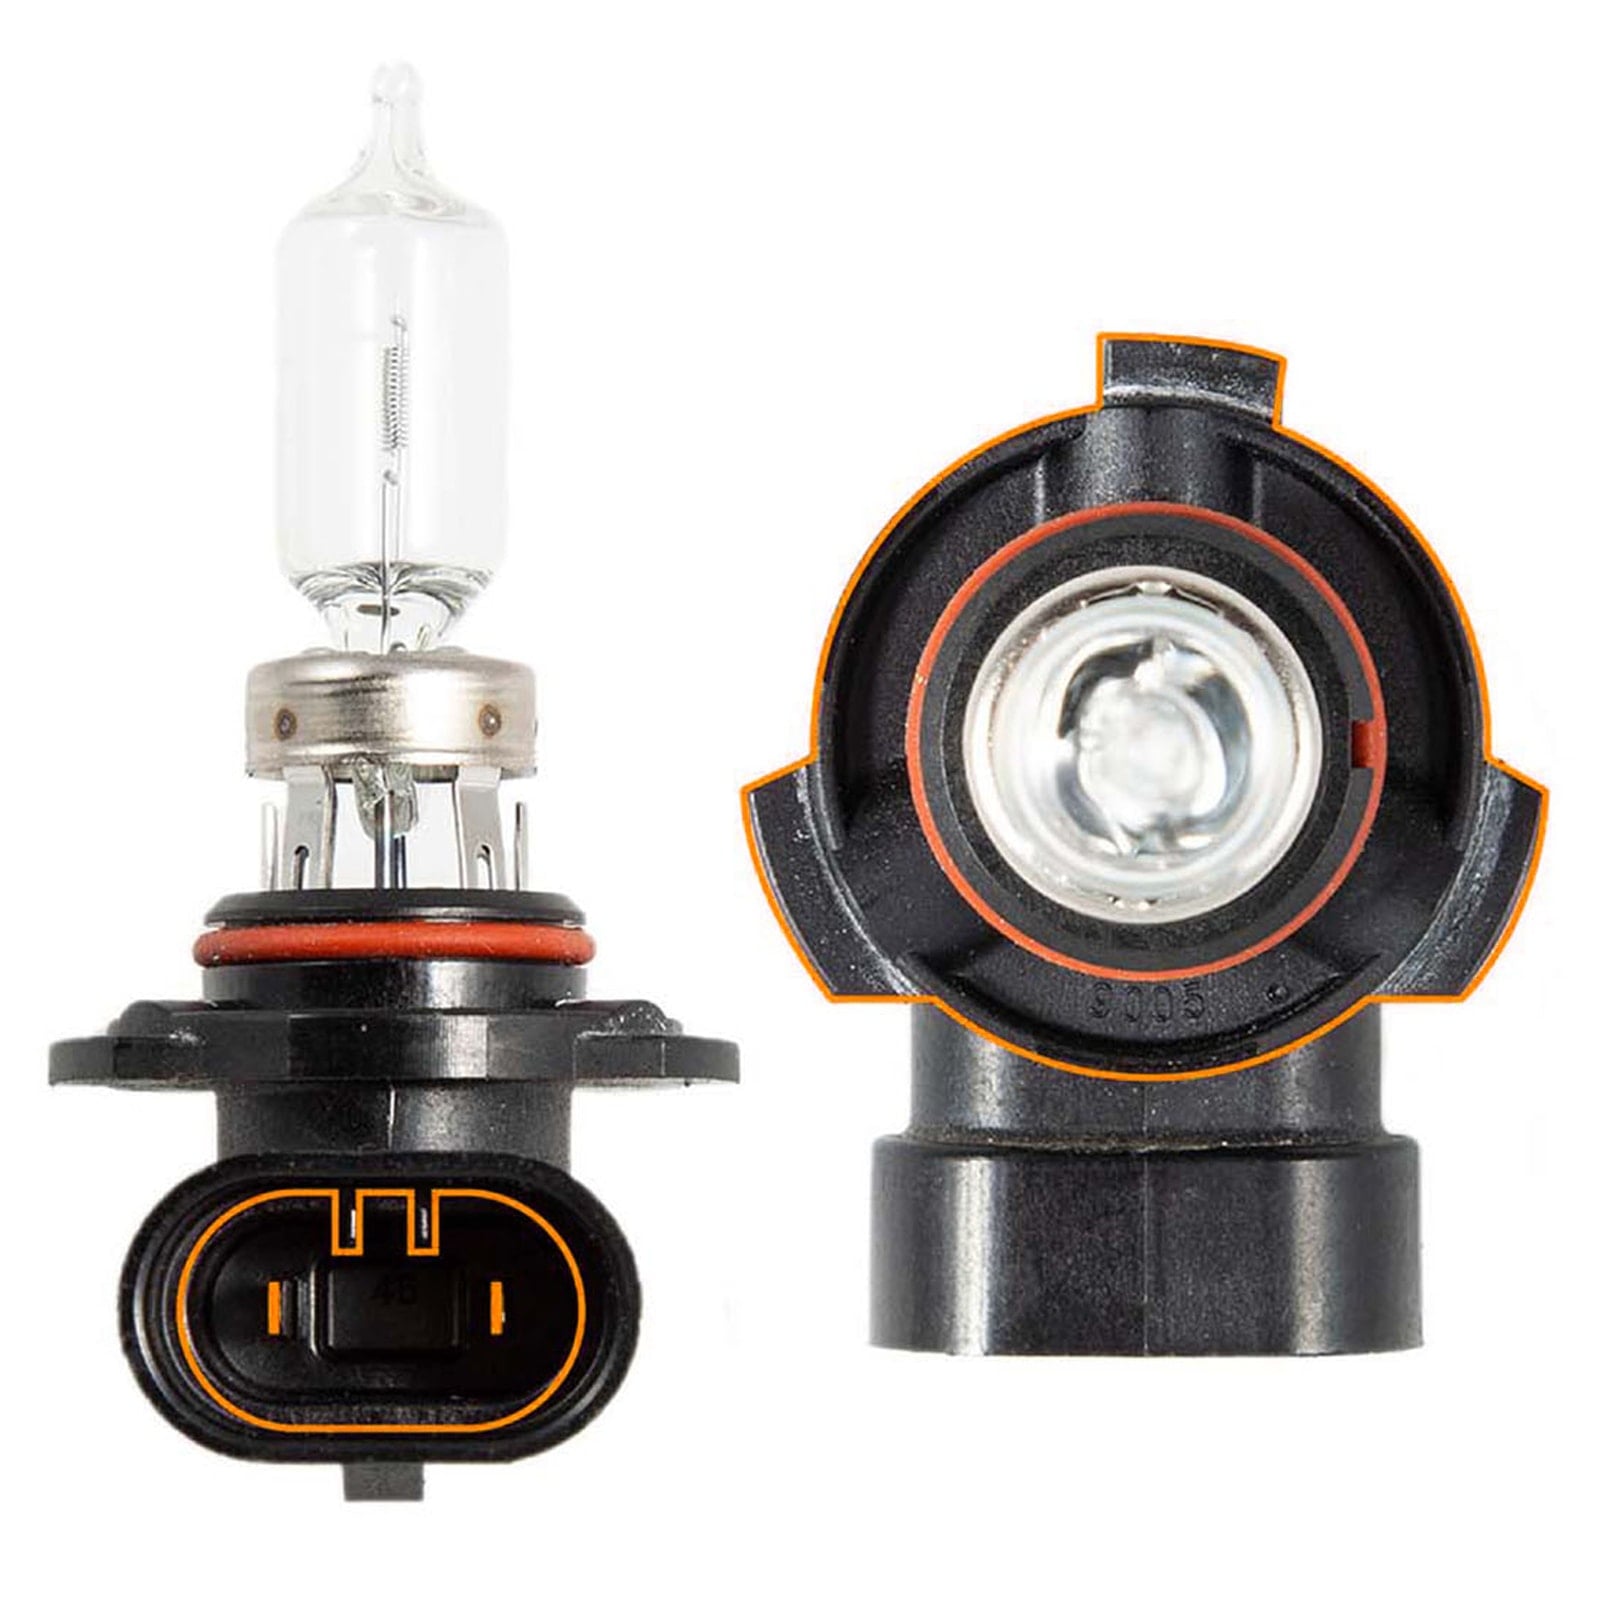
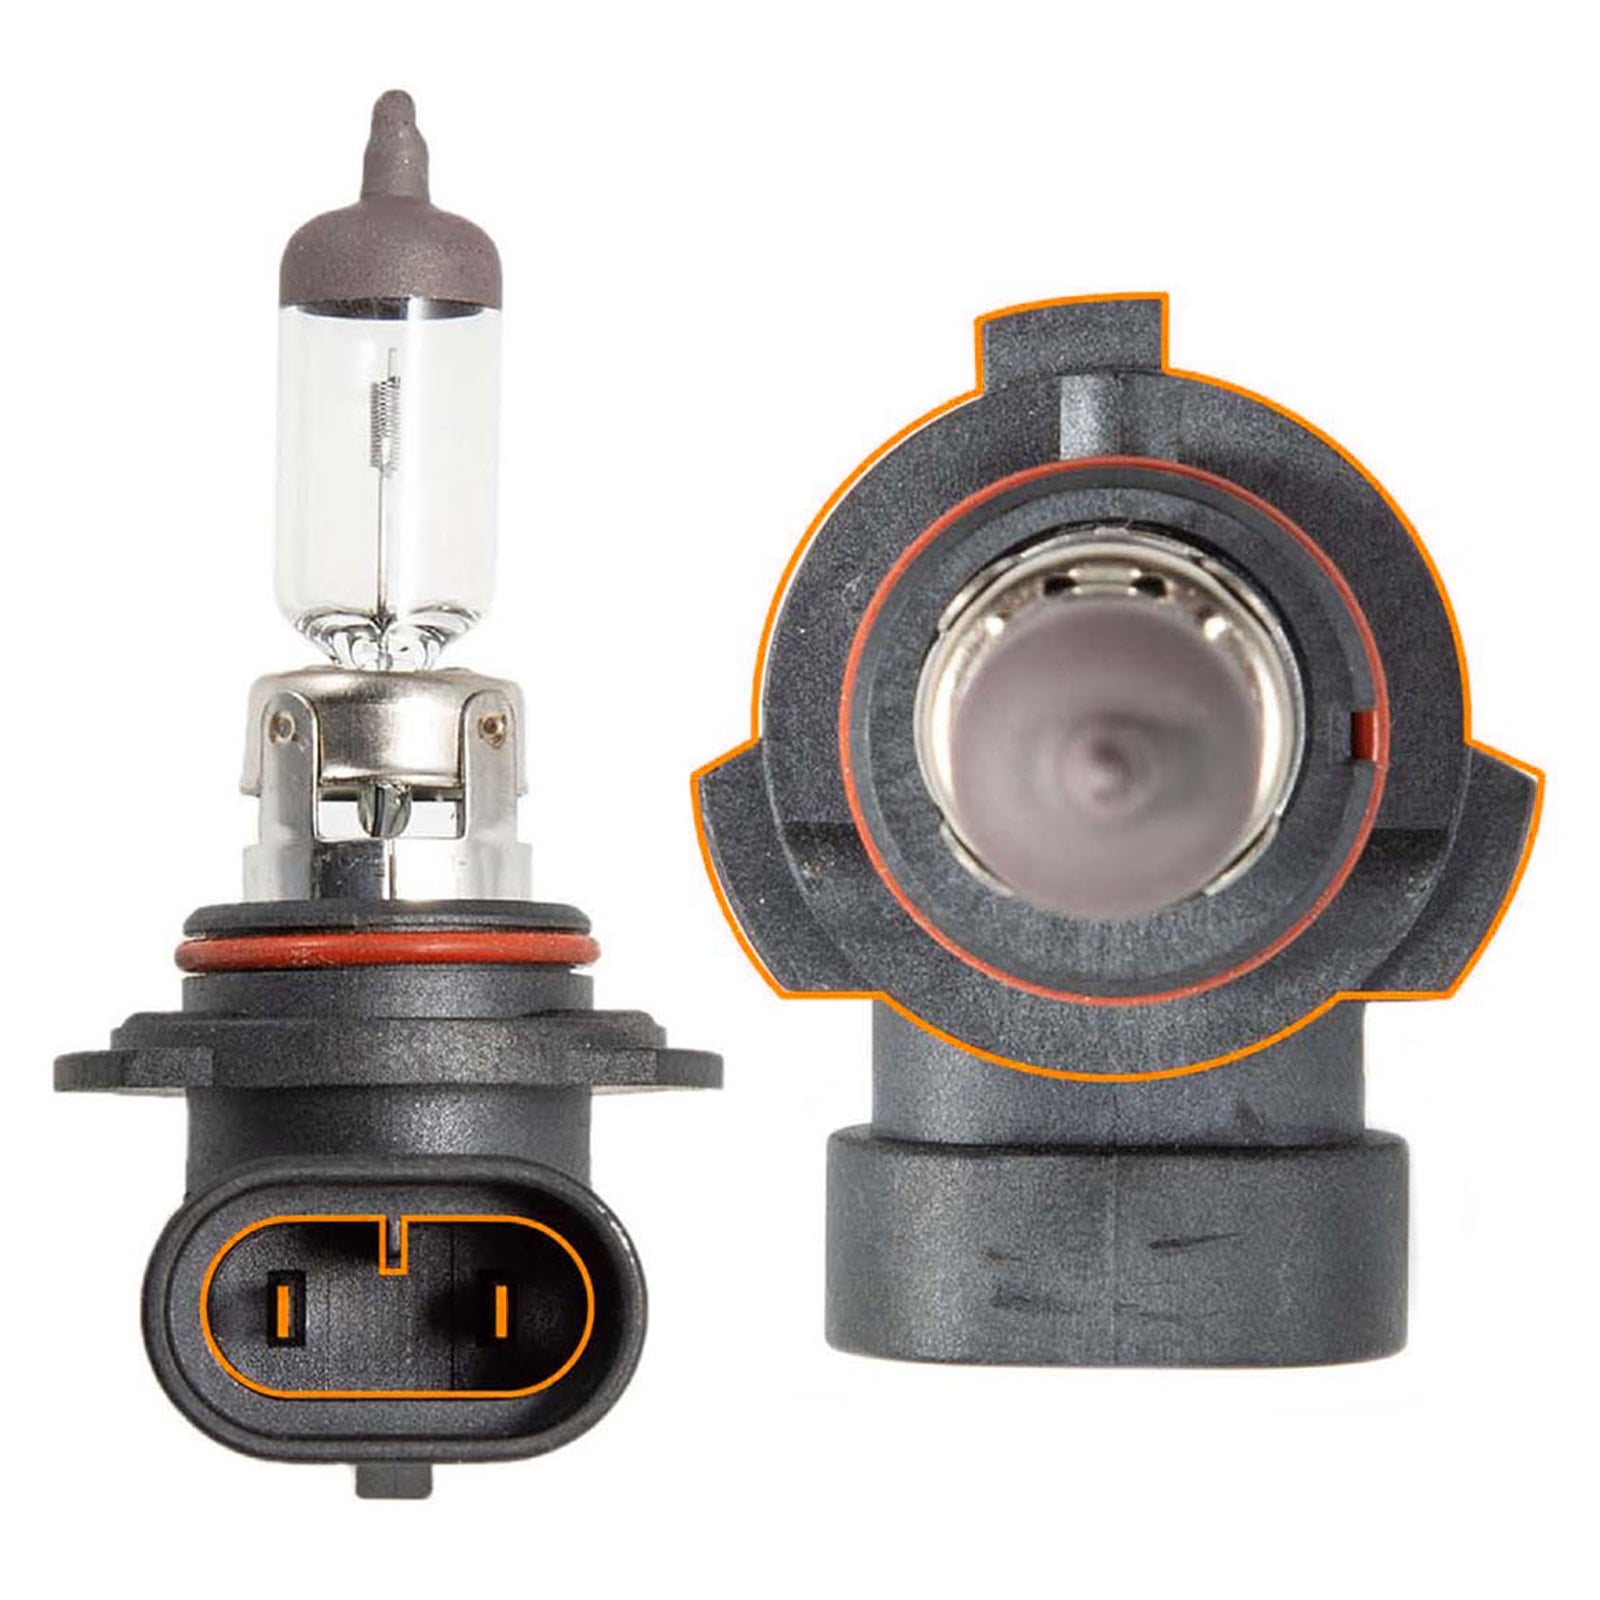
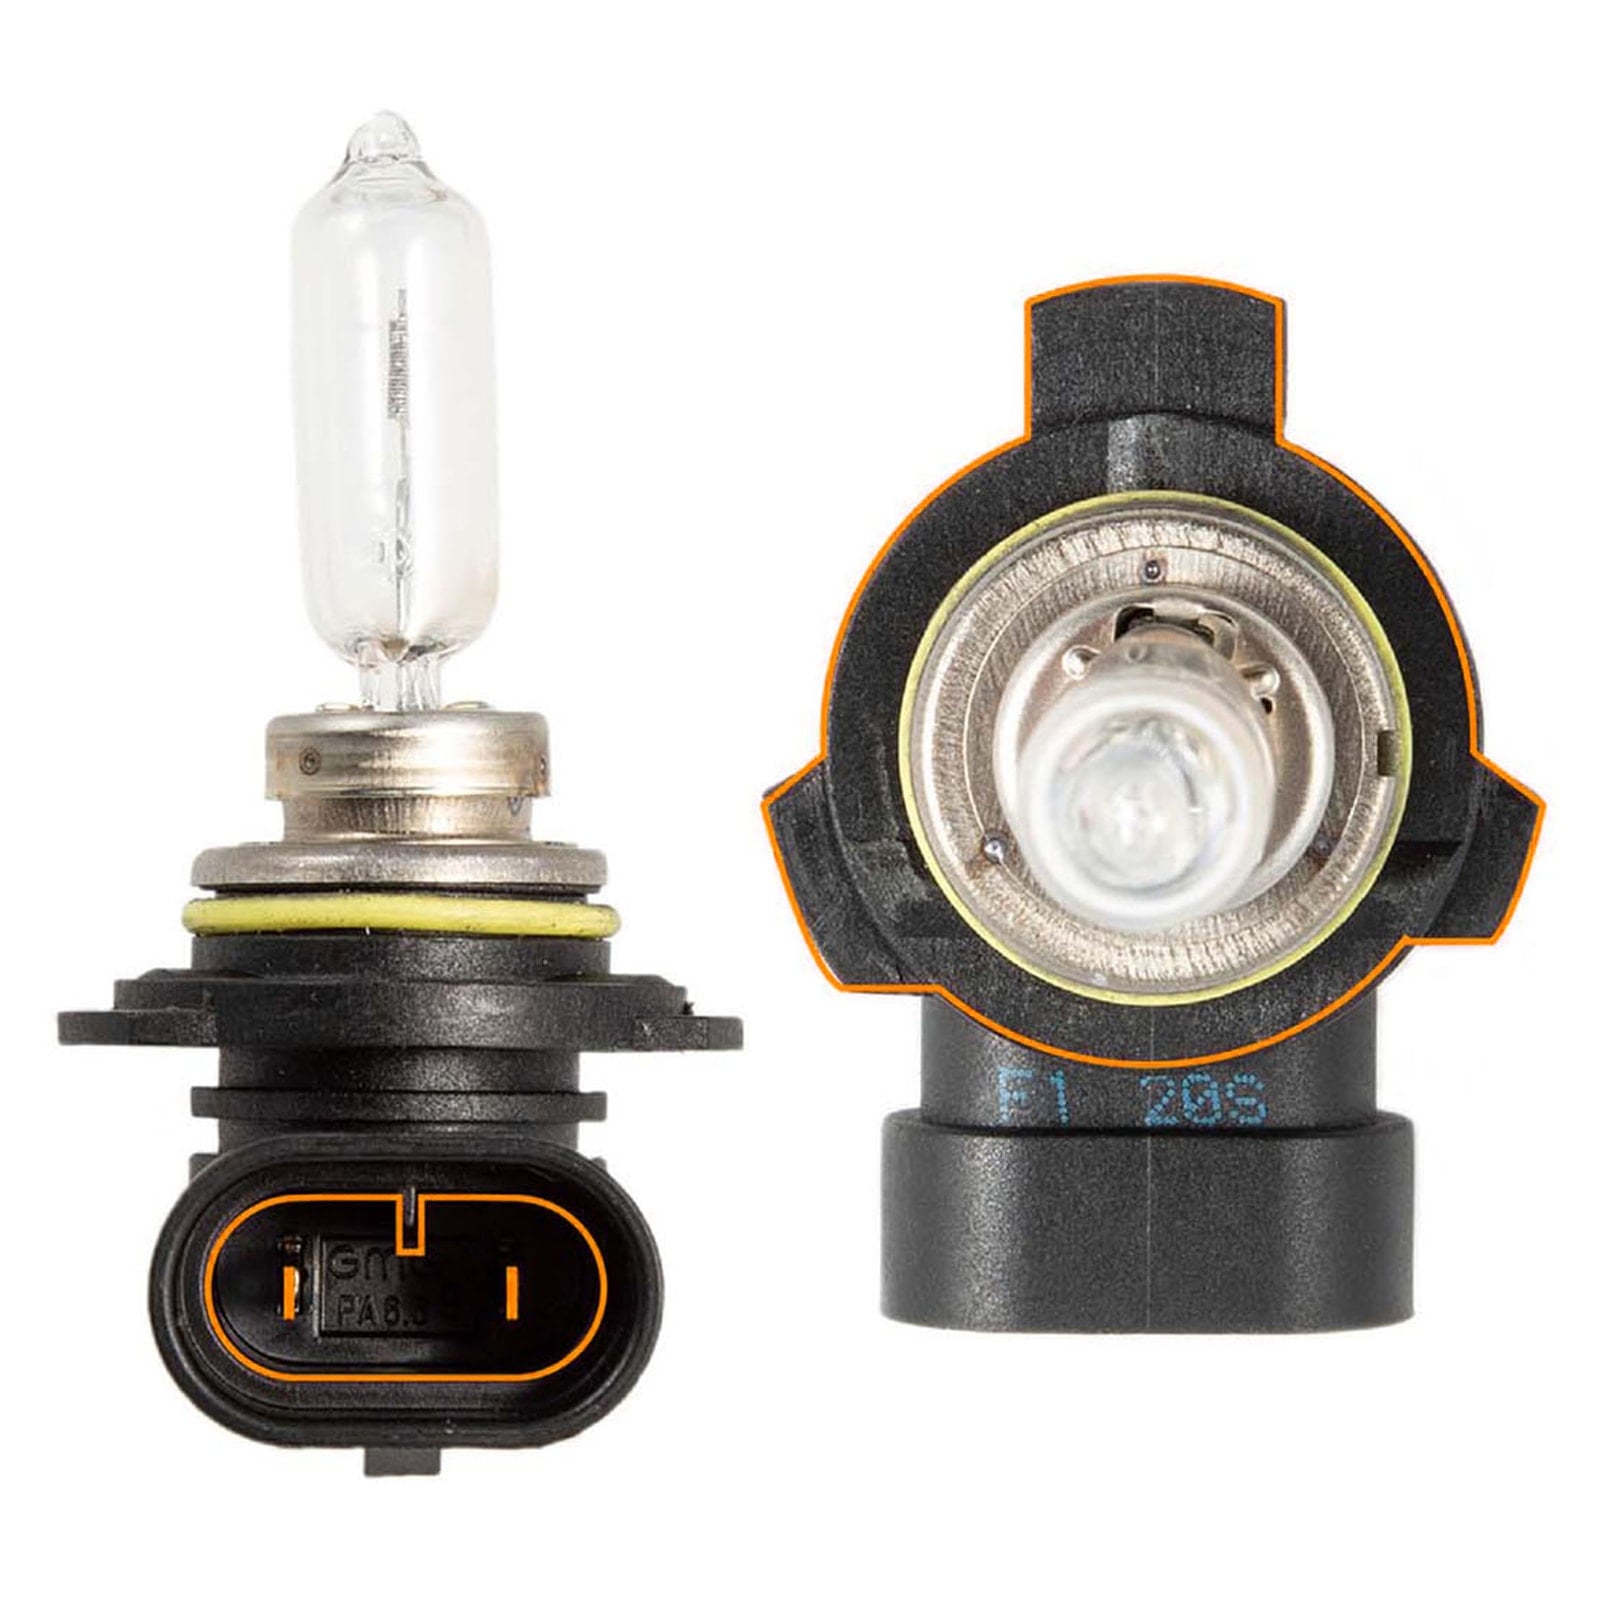
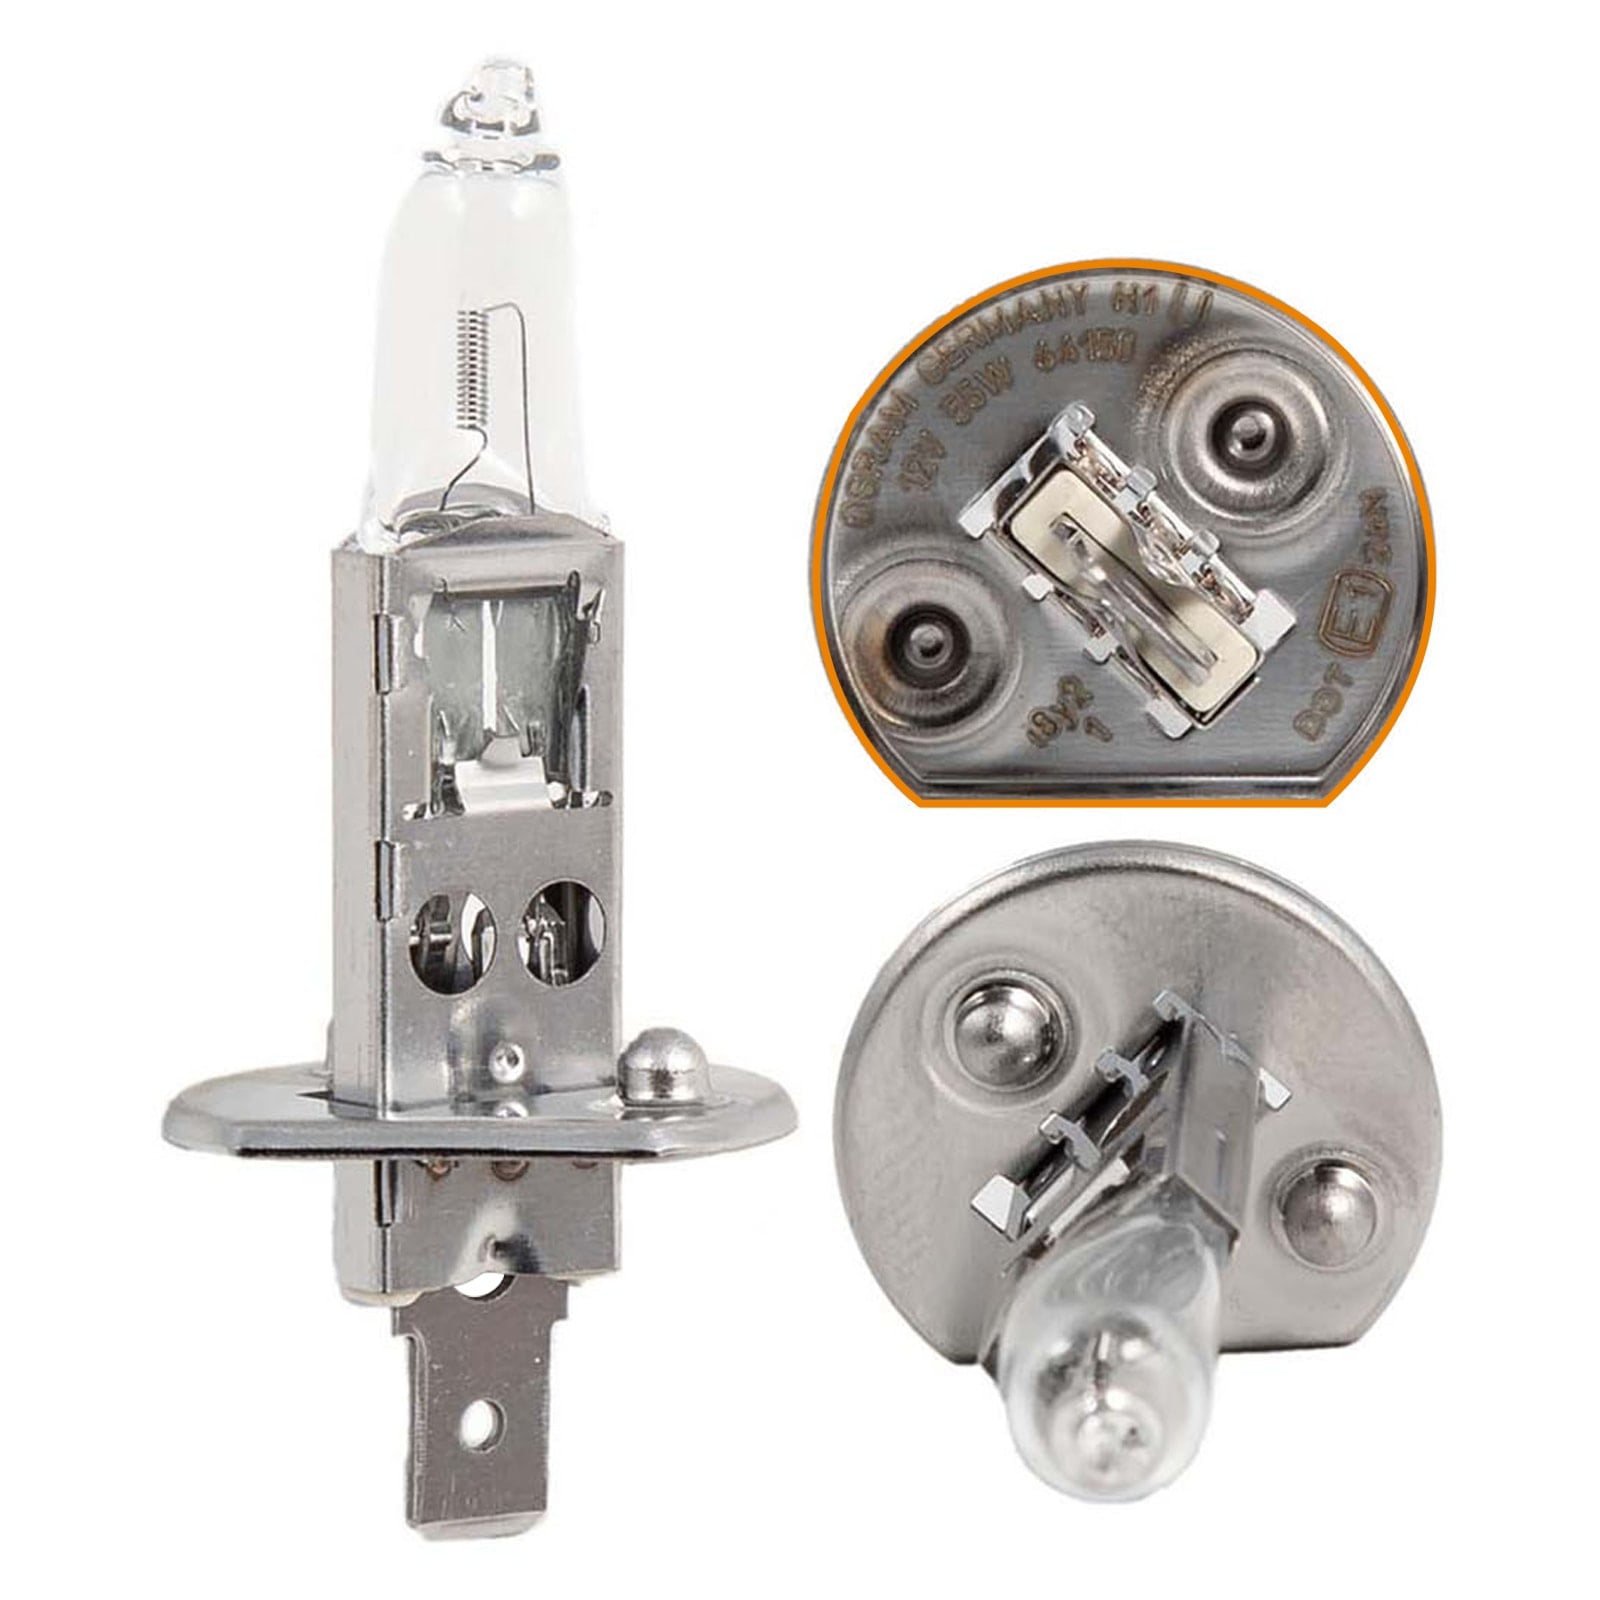
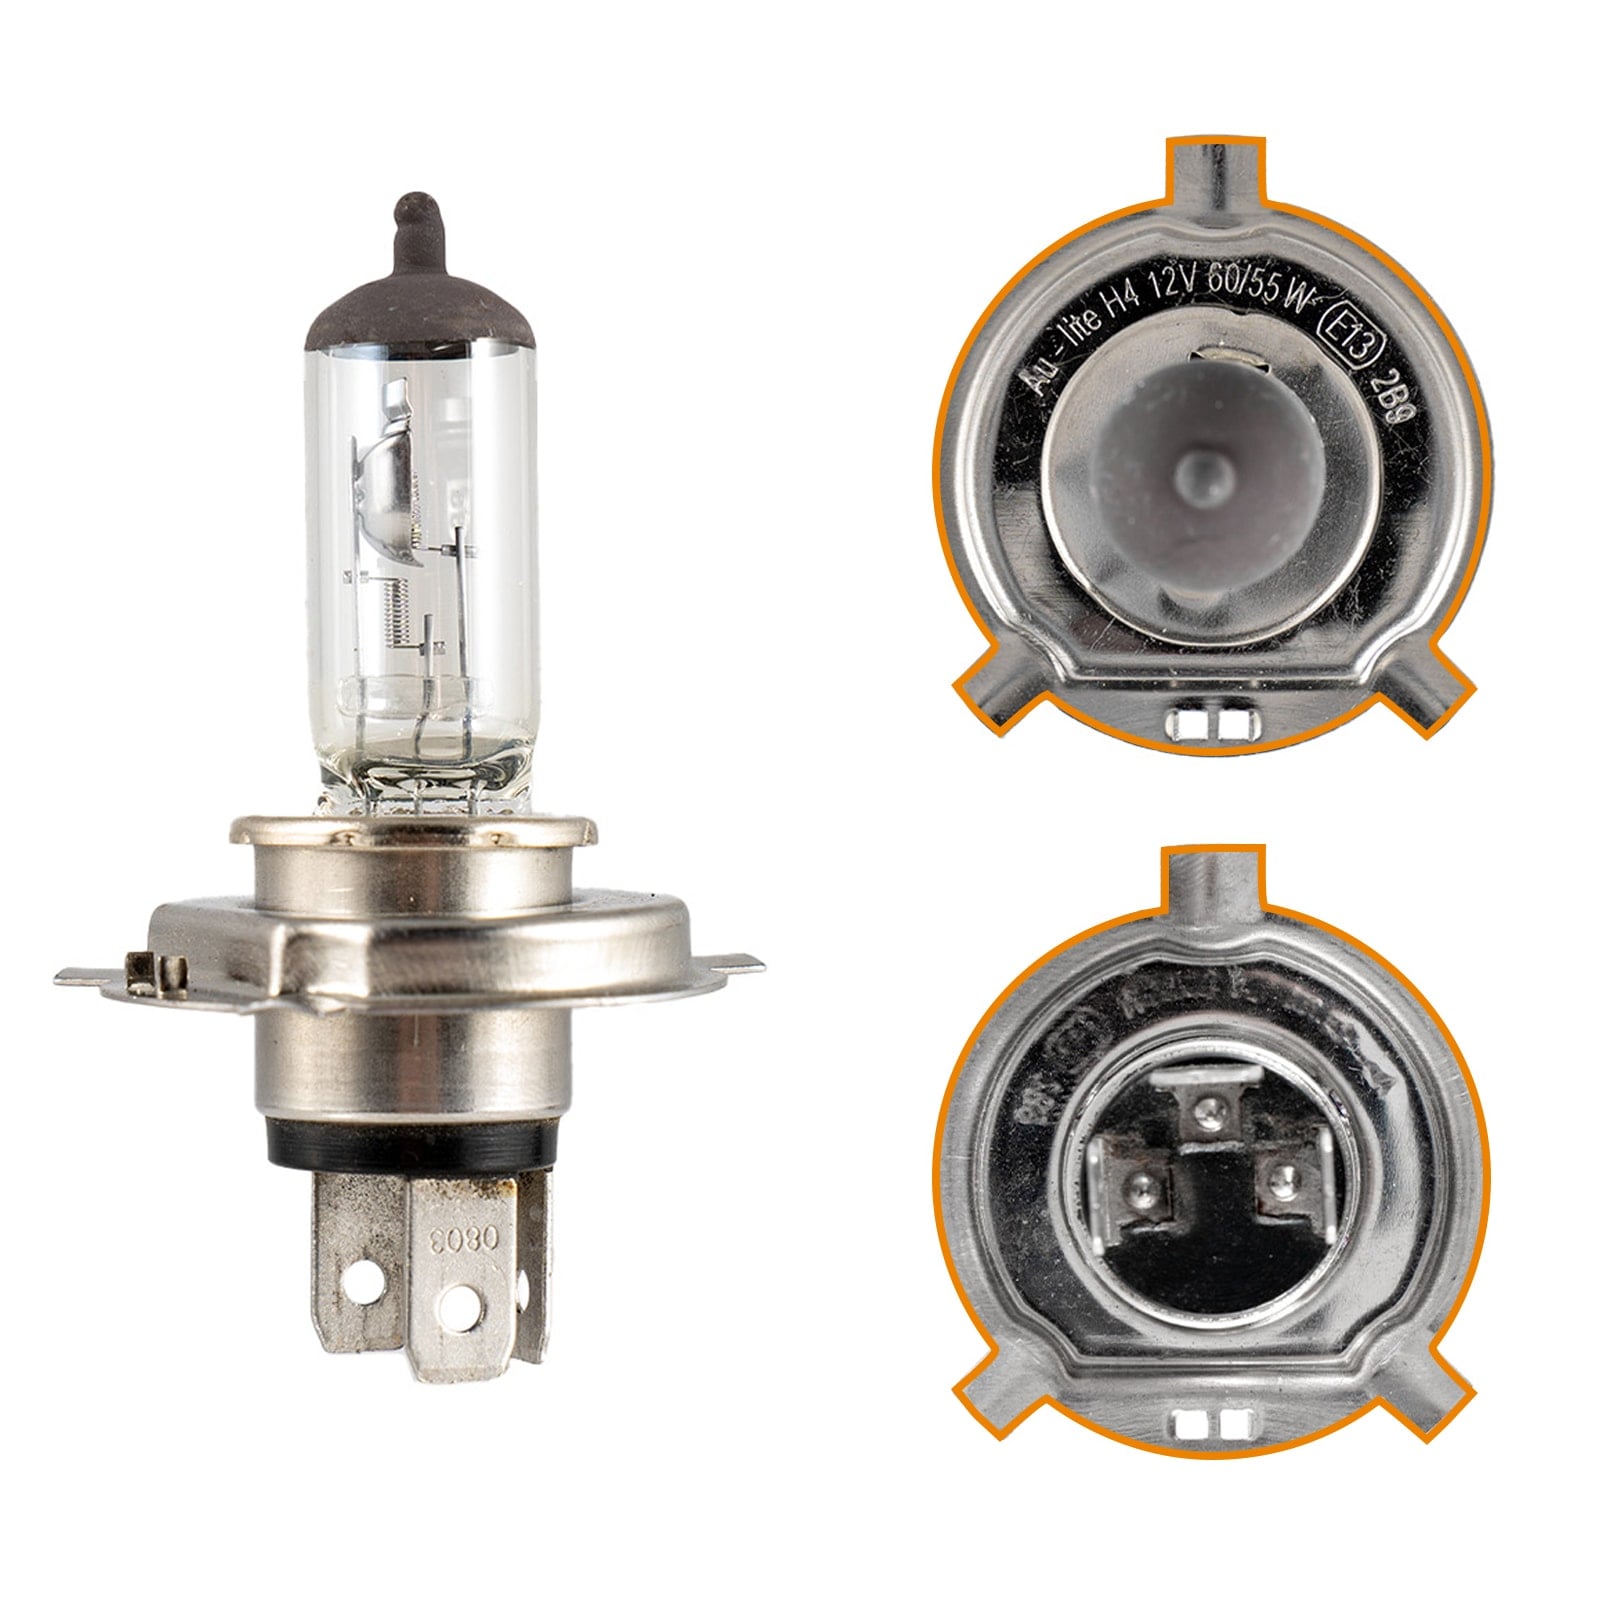
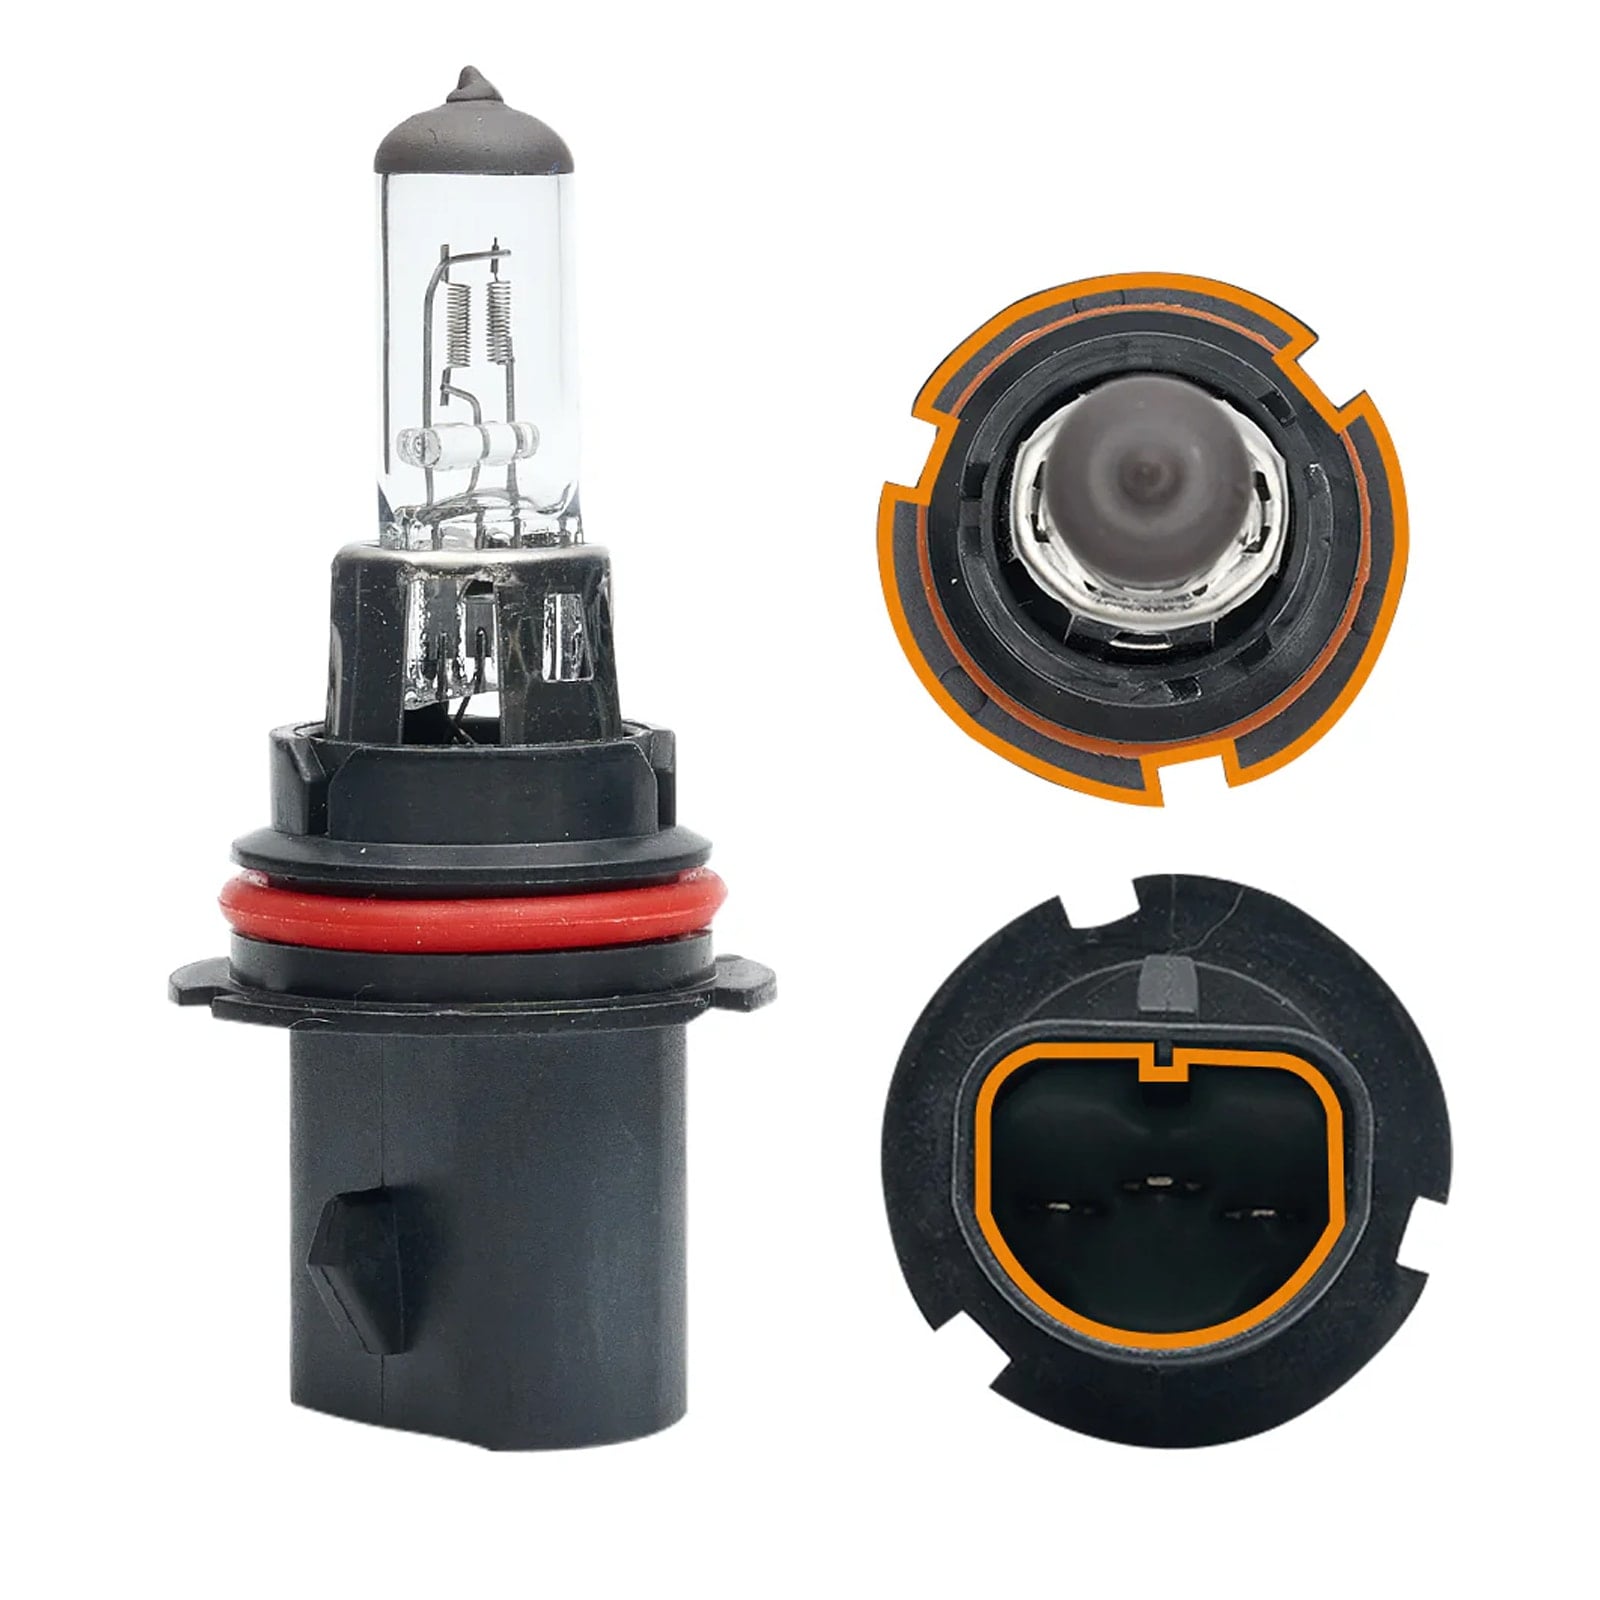
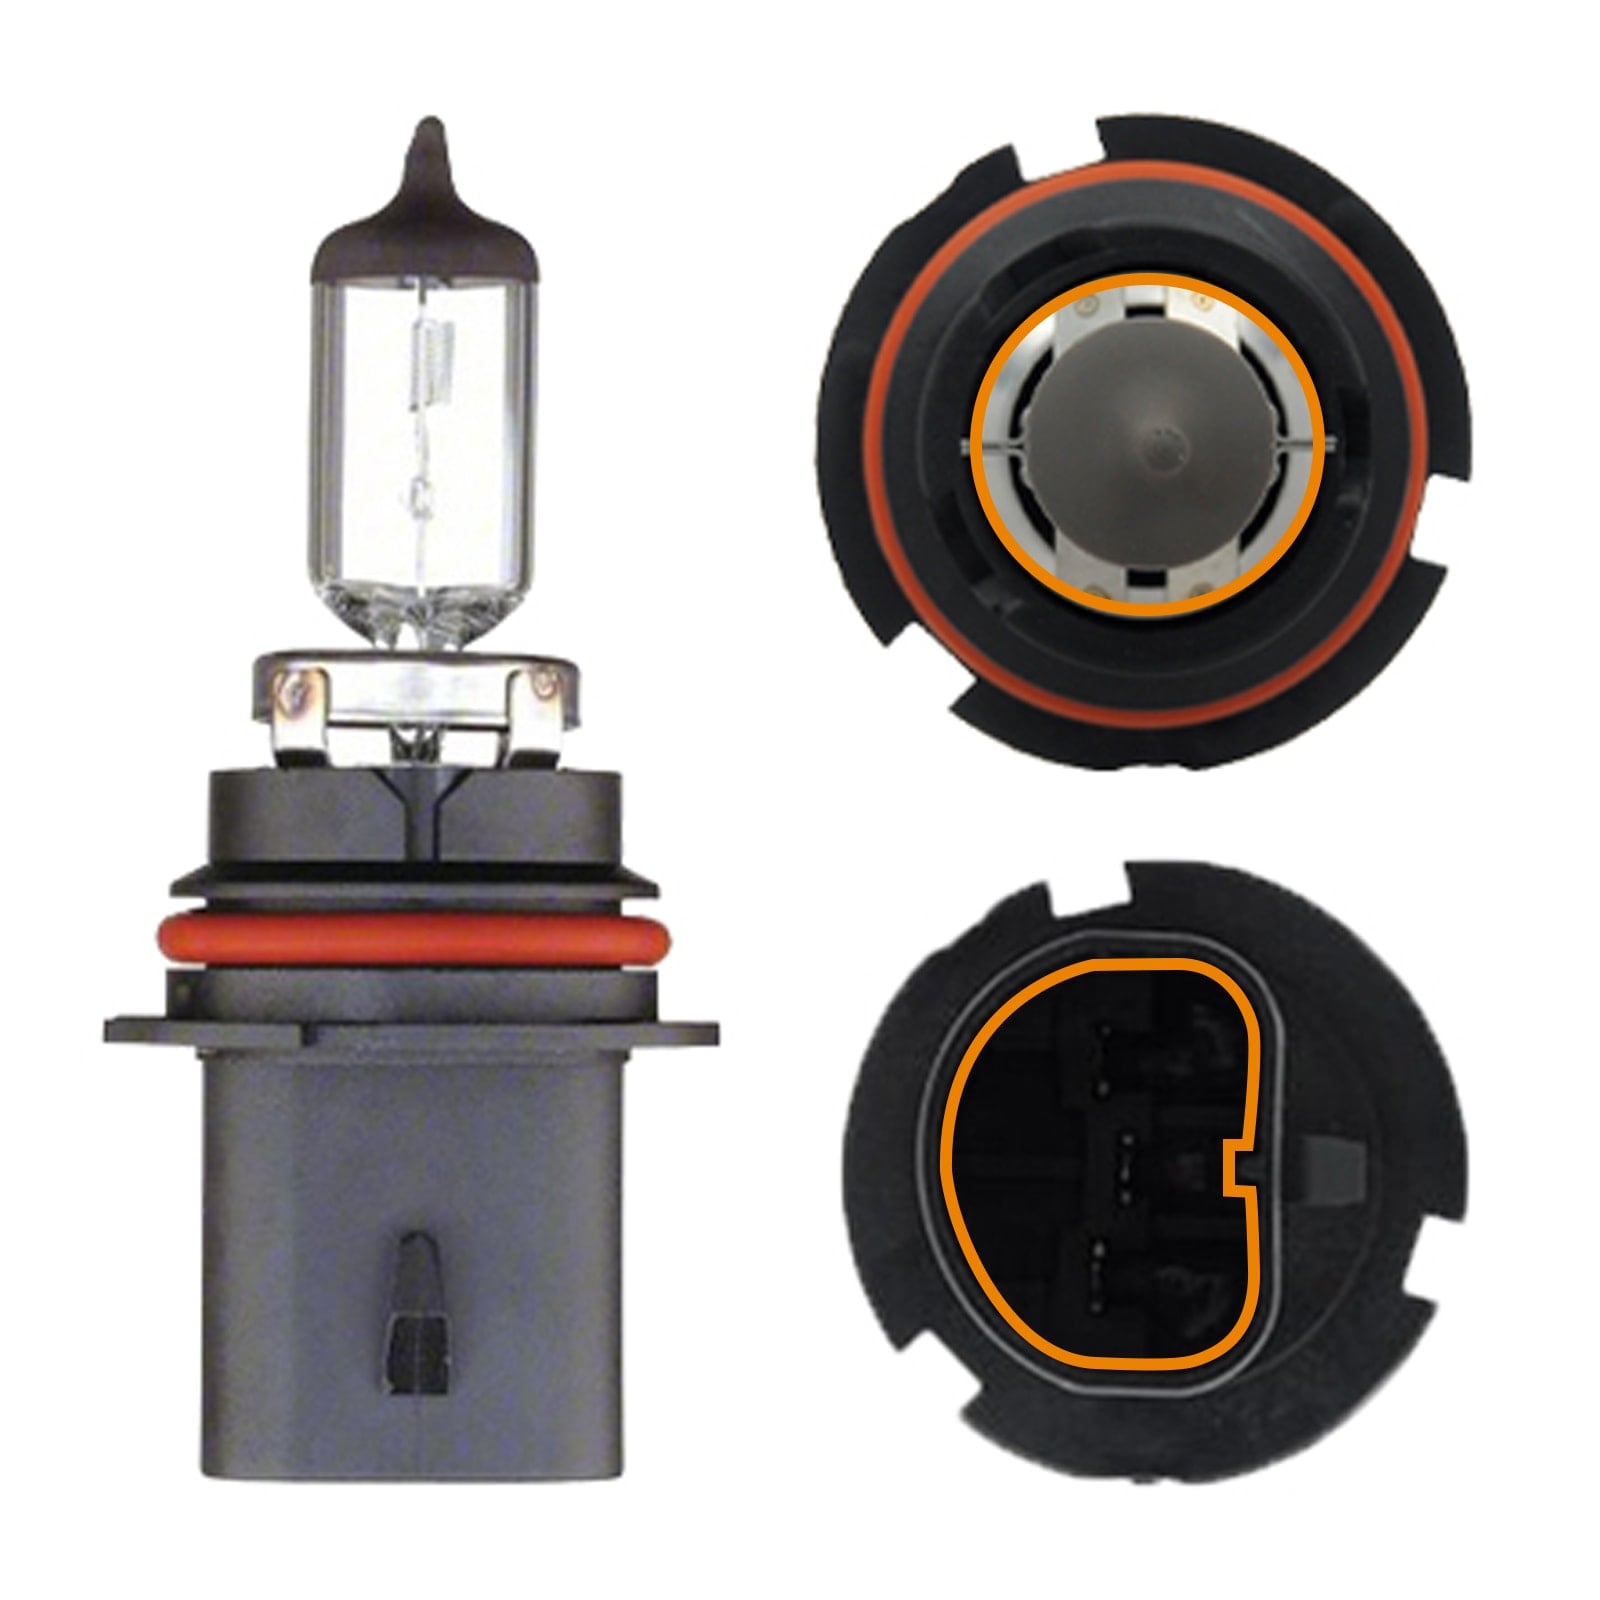
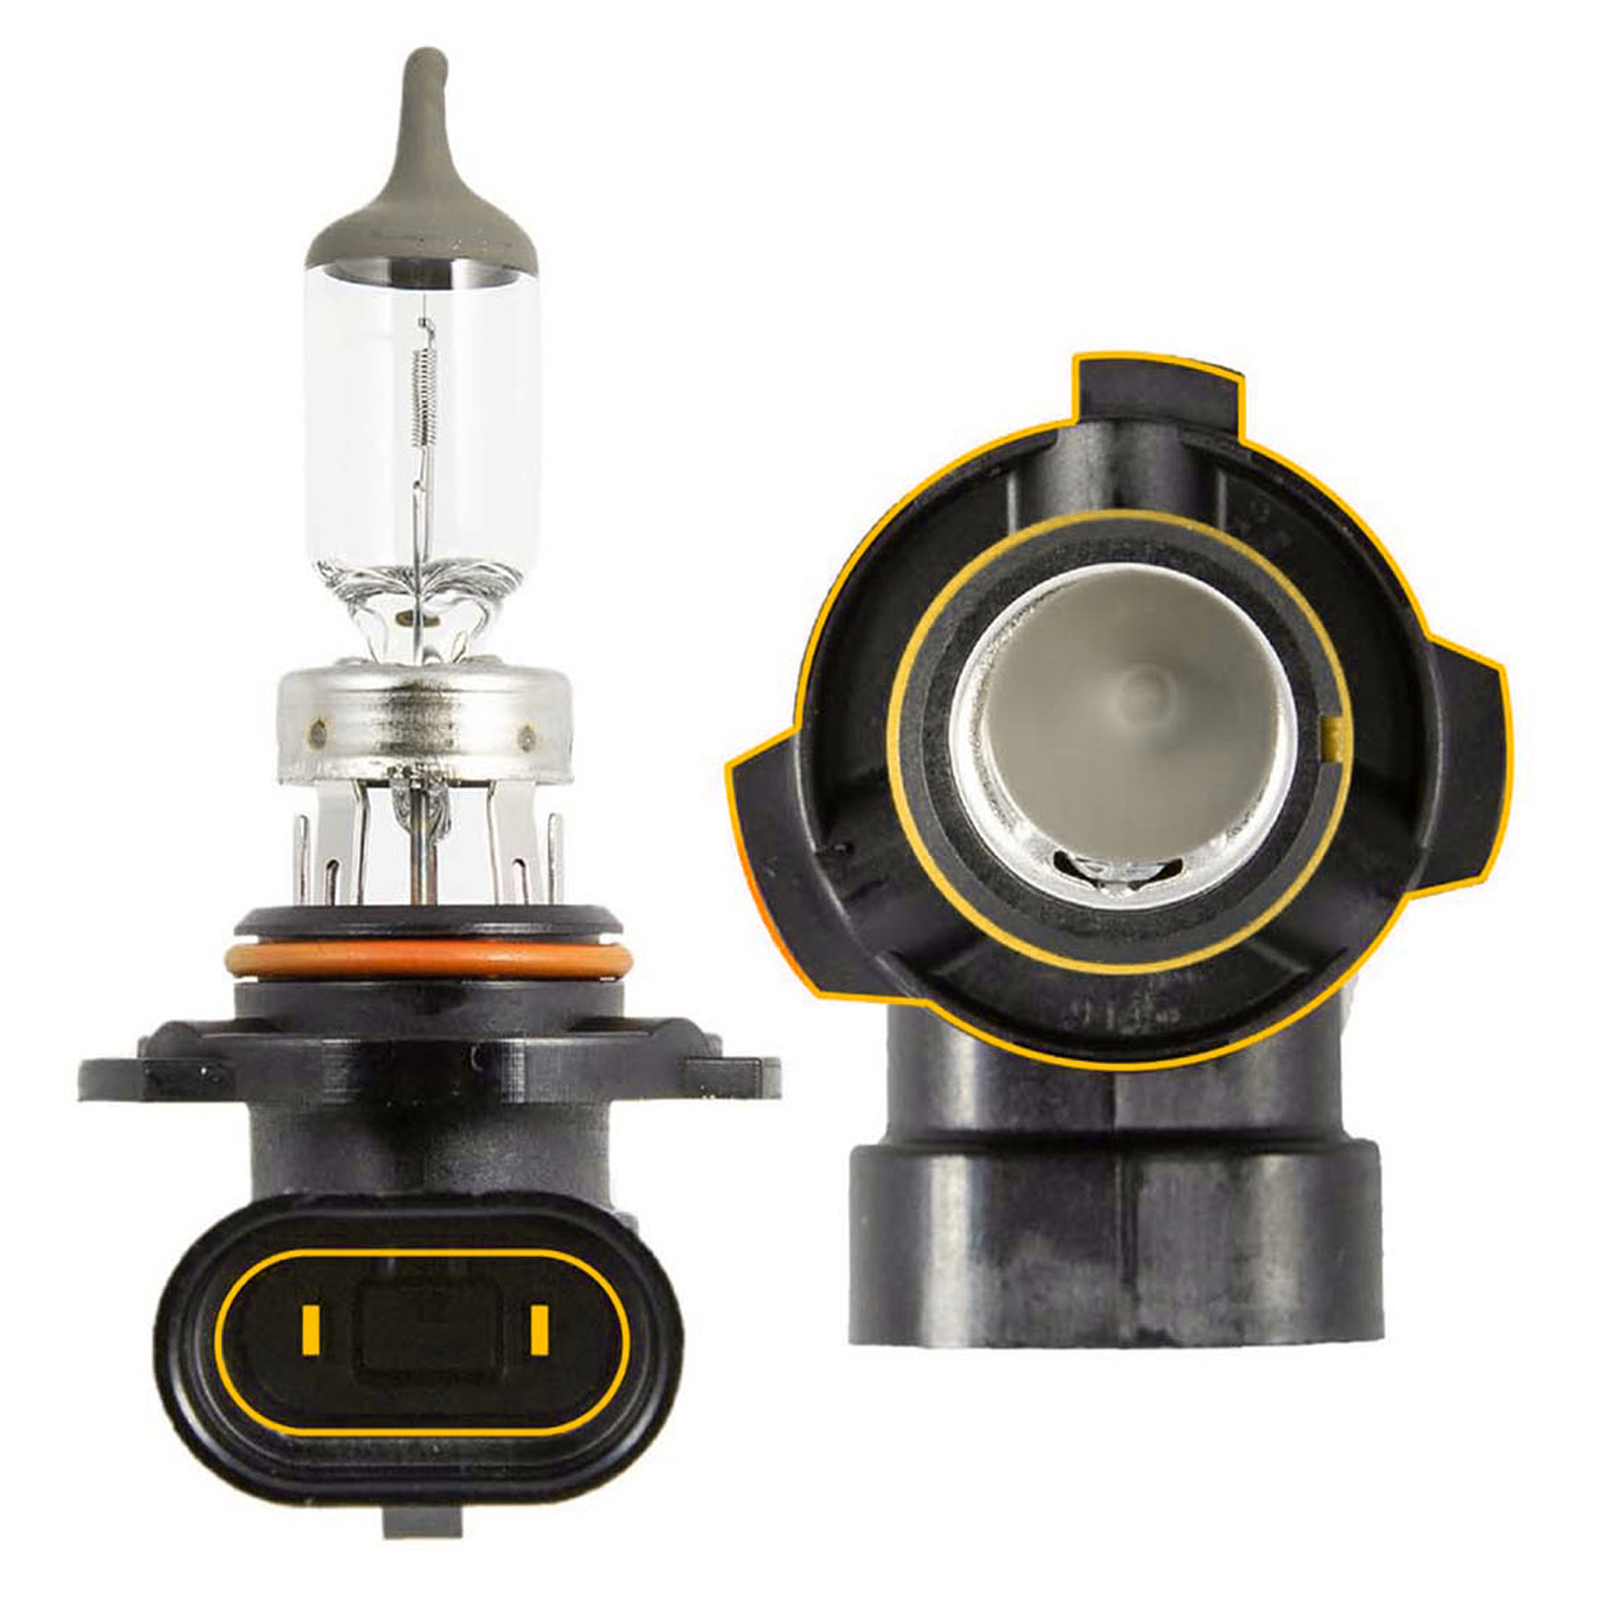
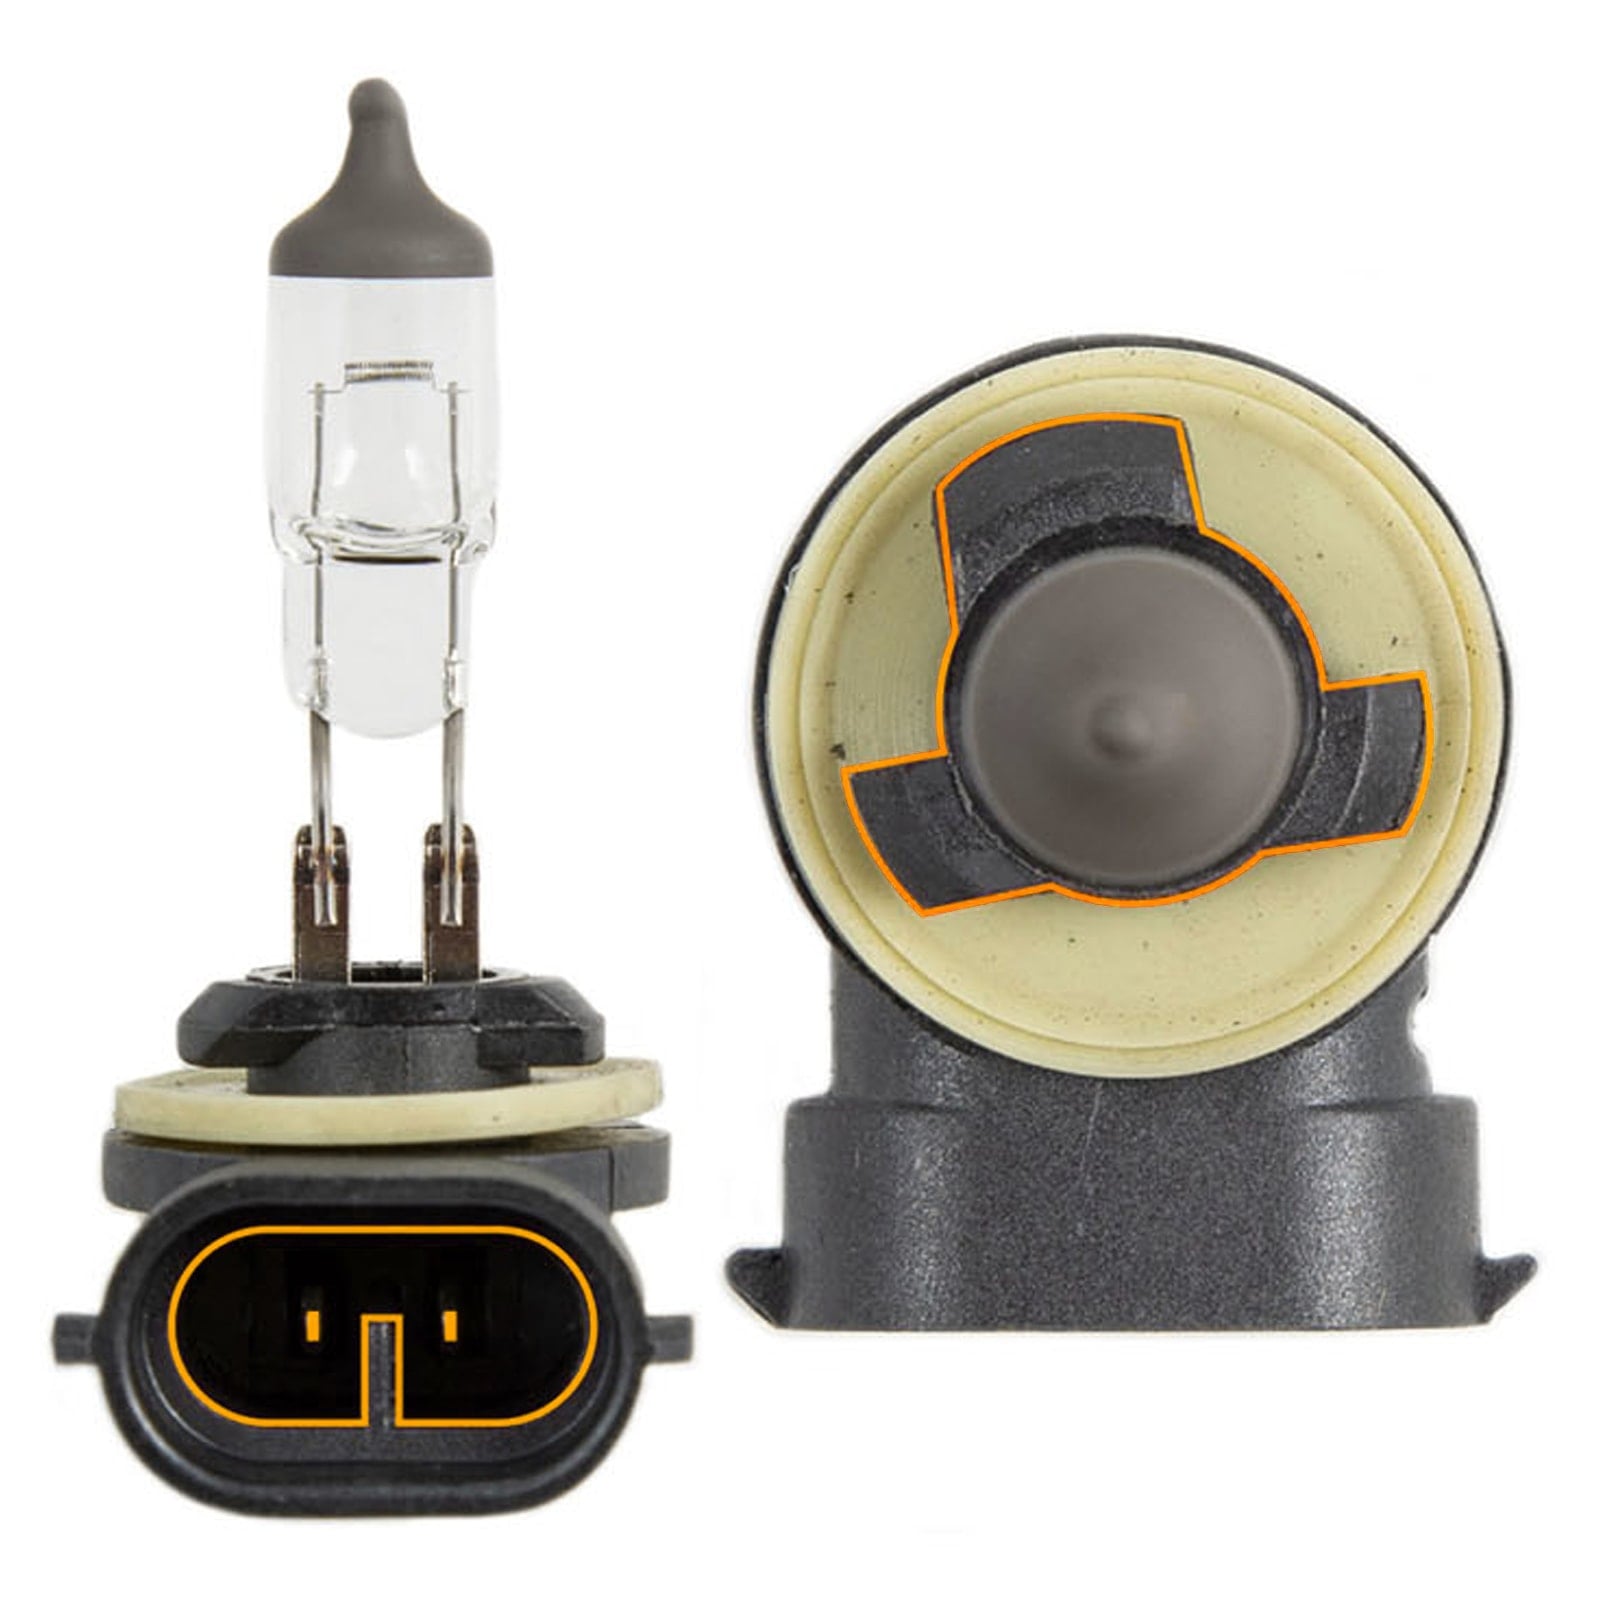
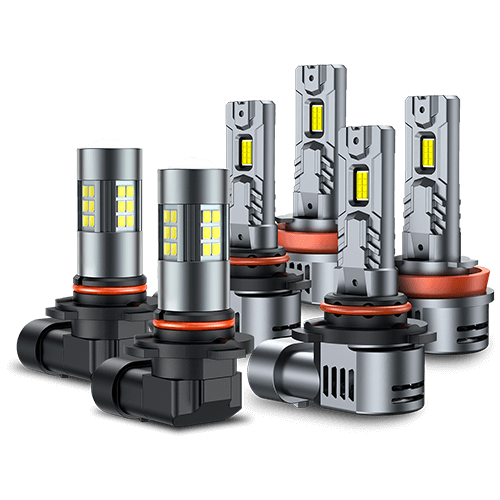
H11, H9, and H8 belong to a related L-shaped automotive bulb family. Many aftermarket LED products are designed to fit more than one of these sizes, but the first step is still confirming the exact factory bulb and vehicle fitment.
For most accessible headlight housings, installation can be completed with basic hand tools in roughly 20–30 minutes. Some vehicles require additional access through the wheel liner, air box, battery area, or a removable dust cap.
Before You Start
Confirm the original bulb size and whether the LED product lists H11, H9, or H8 compatibility.
Check that there is enough space behind the housing for the LED fan, heat sink, driver, and dust cap.
Park on a flat surface, switch off the ignition and lights, and allow hot components to cool.
If your current bulbs are halogen, note the existing beam height on a wall before removal. This gives you a useful reference when checking the LED aim later.
Looking for a direct plug-and-play upgrade?
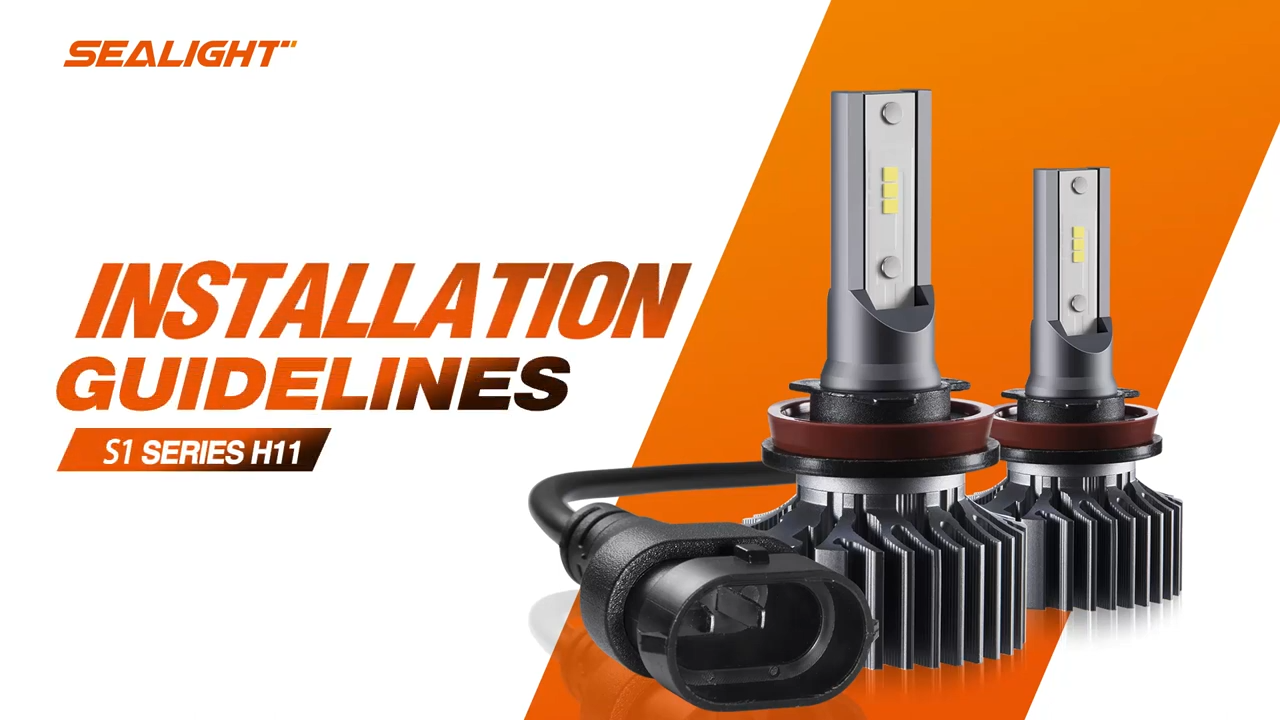
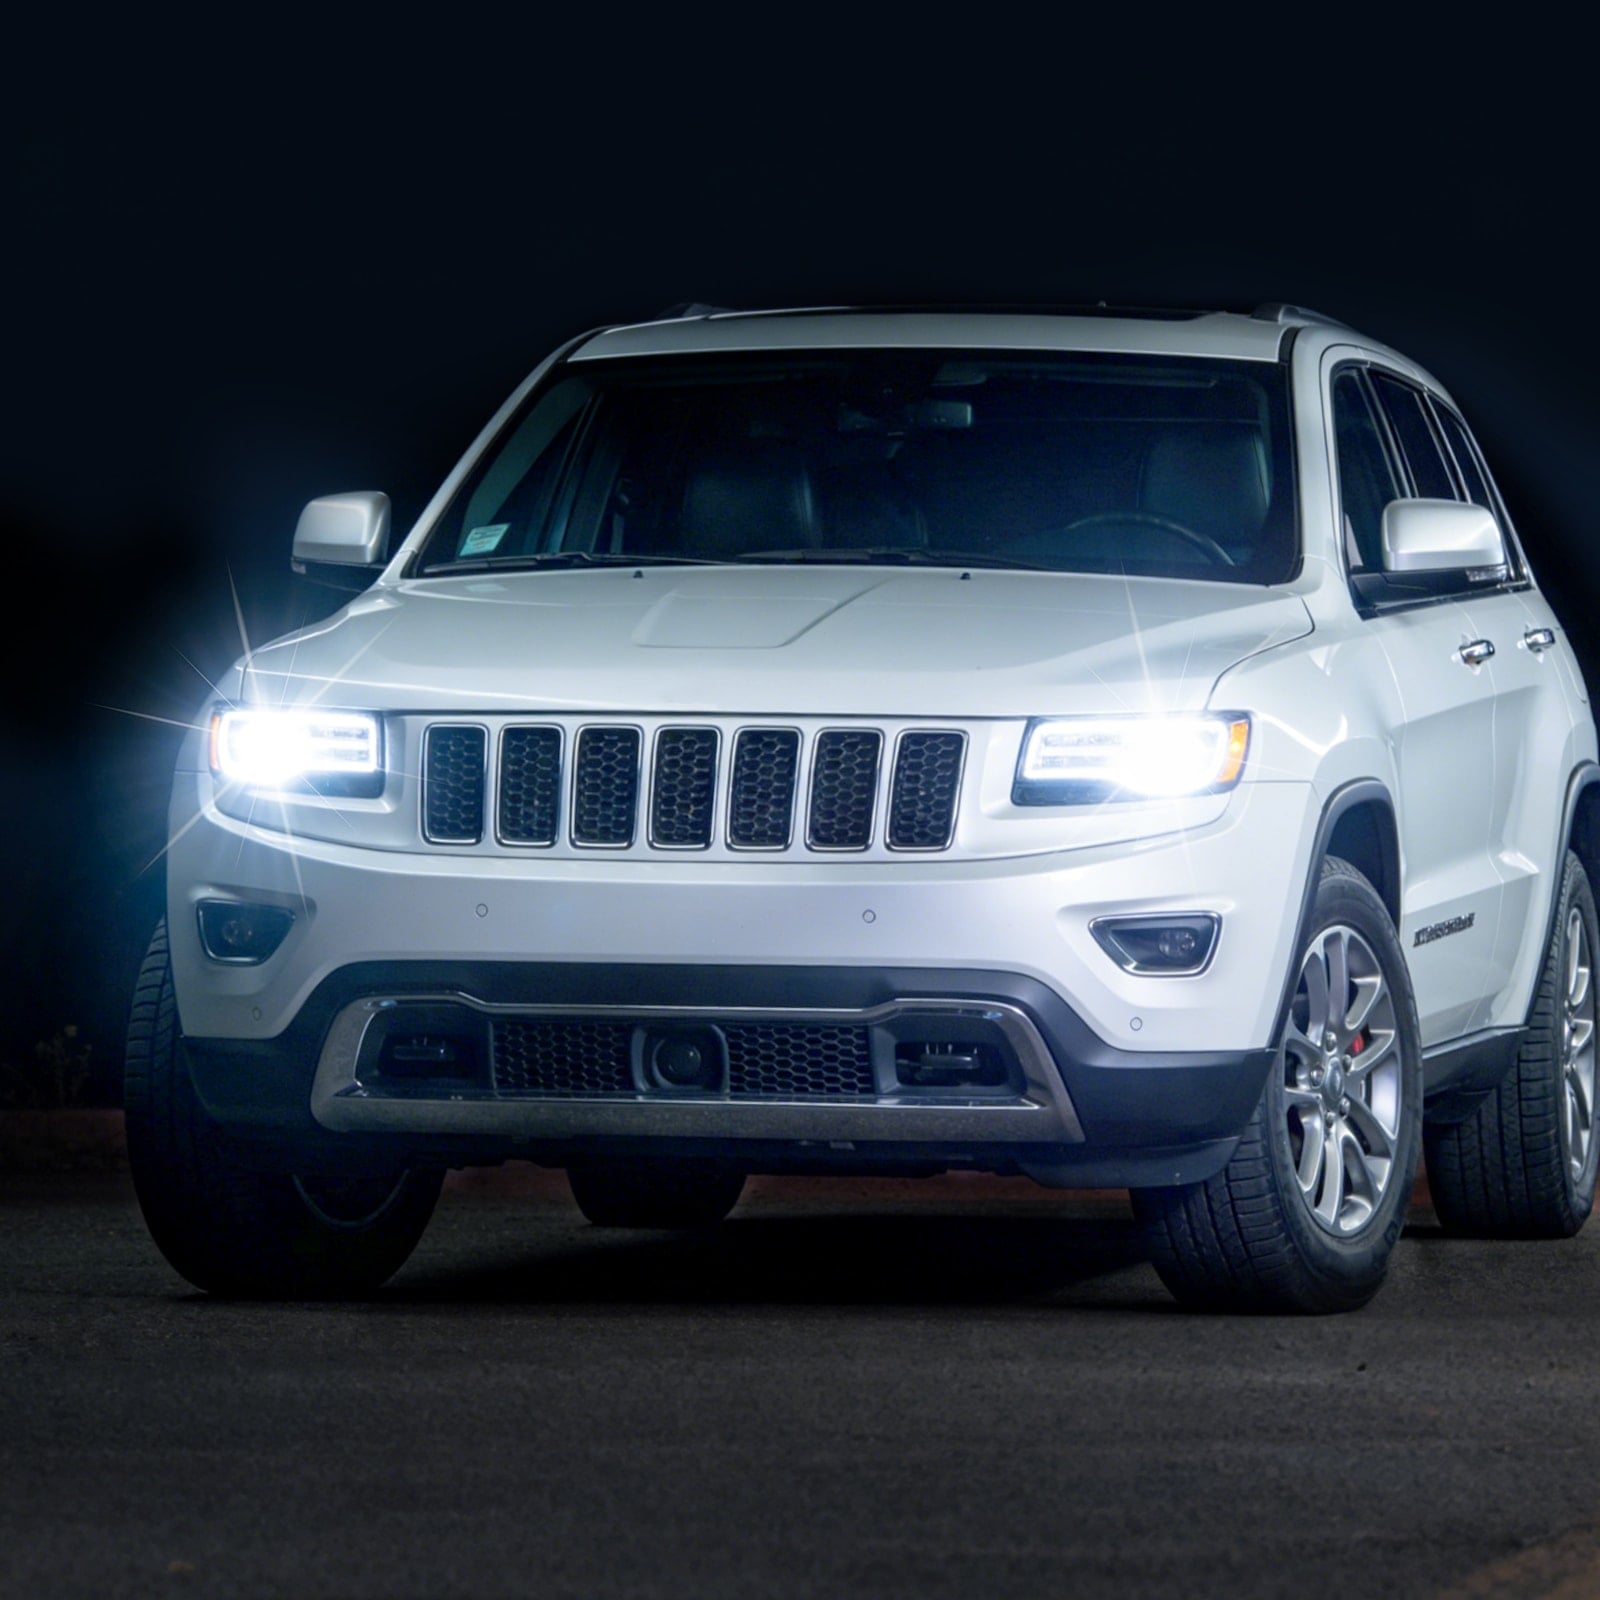
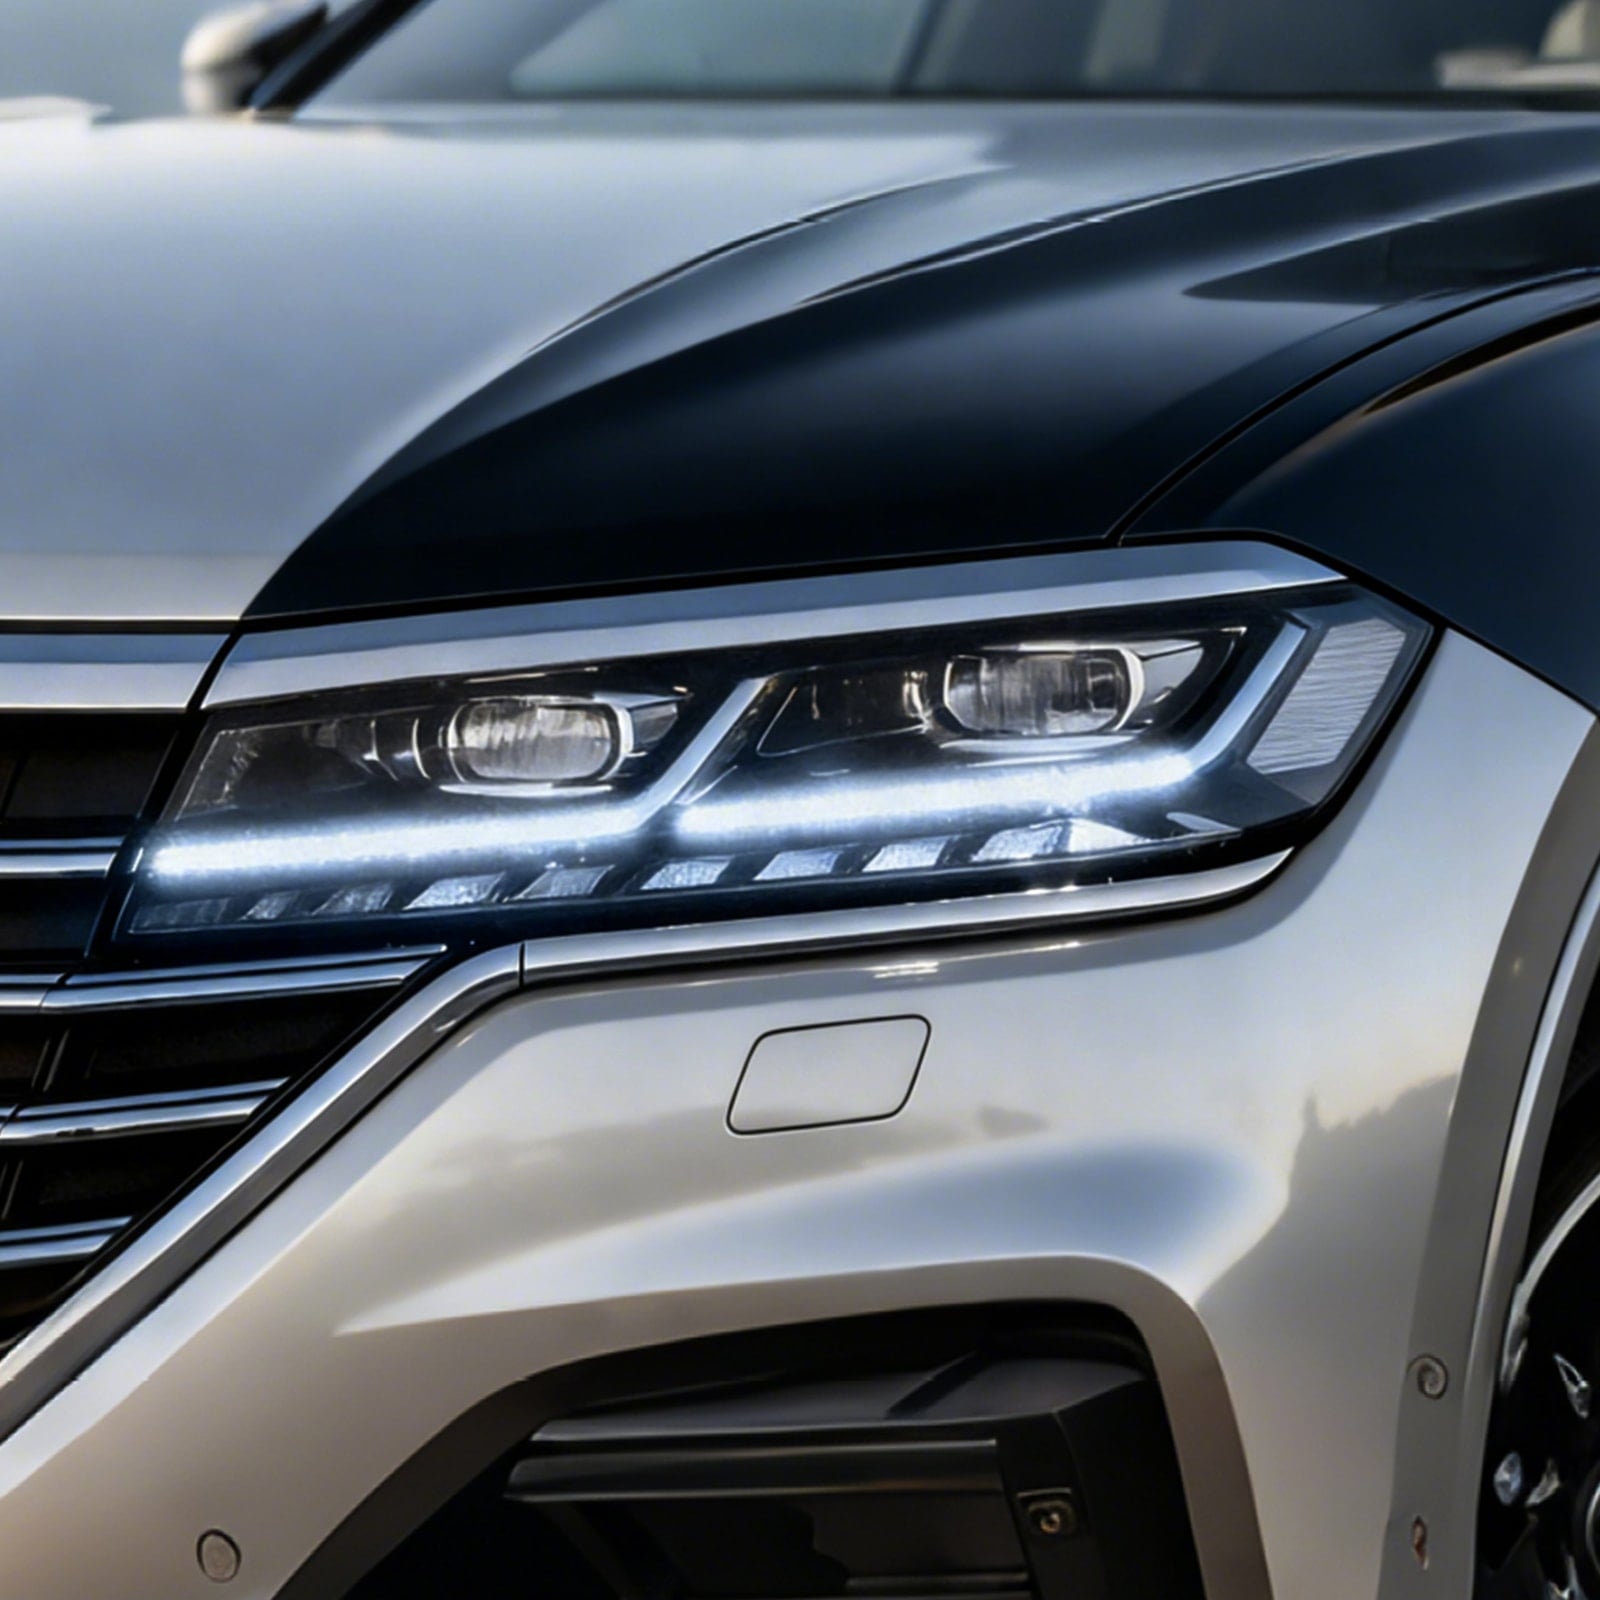
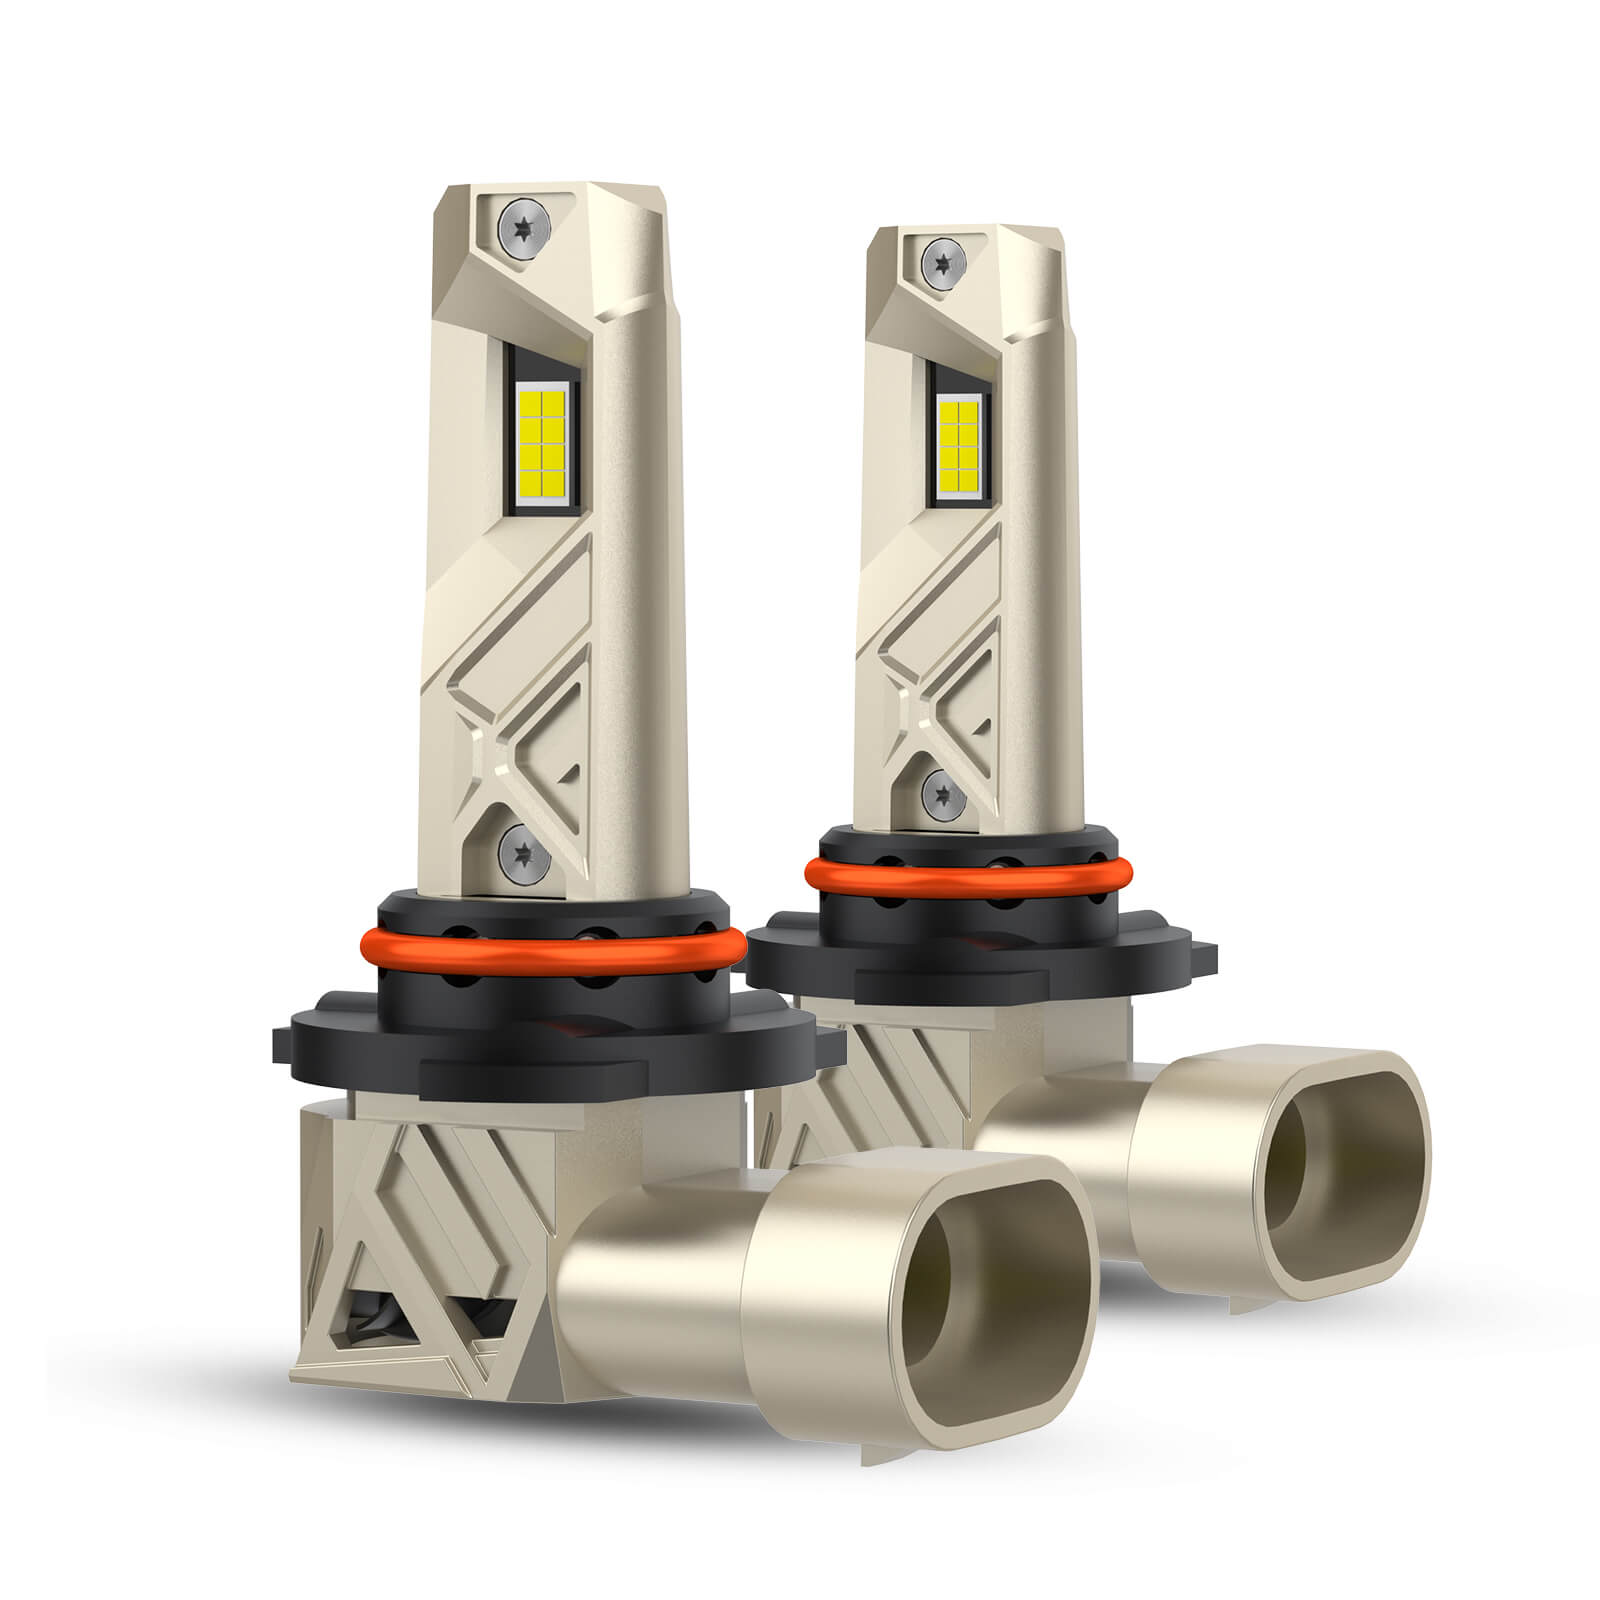
SEALIGHT H11 LED bulbs feature a 1:1 mini size, 1:1 beam pattern, and built-in driver for an easy 10-minute installation. For replacement options, browse the SEALIGHT H11 LED bulbs.
Tools You May Need
- Gloves
- Small flat screwdriver or trim tool
- Socket or wrench set, depending on the vehicle
- Flashlight
- Clean cloth
- Zip ties for securing external drivers or wiring
Step 1: Access the Headlight Housing
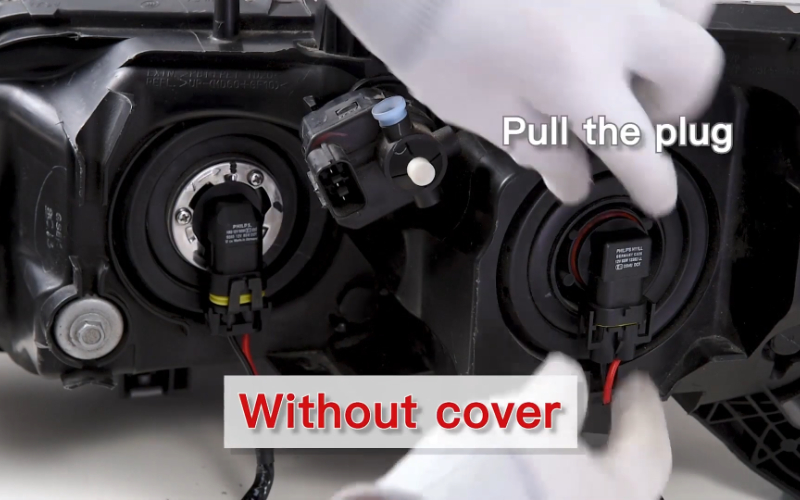
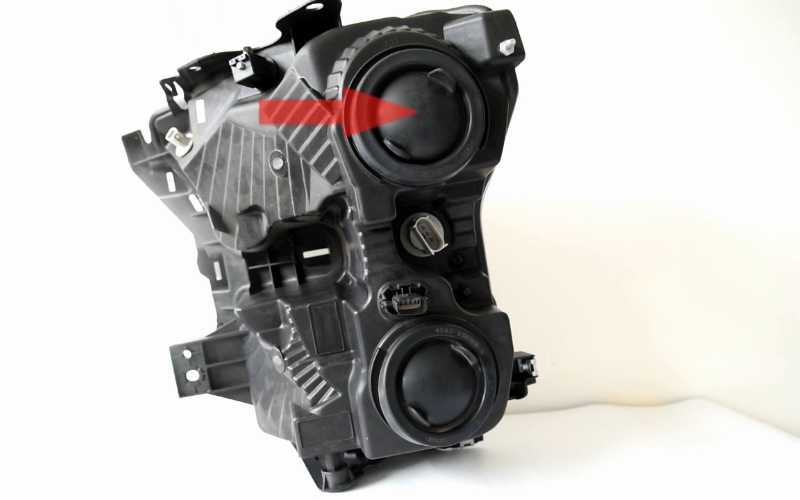
Open the hood and locate the rear of the headlight assembly. On some vehicles, the bulb can be reached directly. On others, you may need to remove a dust cap, move a nearby component, or access the housing through the wheel well.
Do not pull on wiring to create extra space. If access is too tight, consult the vehicle-specific service procedure.
Step 2: Disconnect and Remove the Halogen Bulb
Release the electrical connector from the original bulb. Rotate the bulb in the direction specified by the housing and pull it straight out.
Inspect the connector for heat damage, corrosion, moisture, or loose terminals. A damaged connector should be repaired before installing a new bulb.
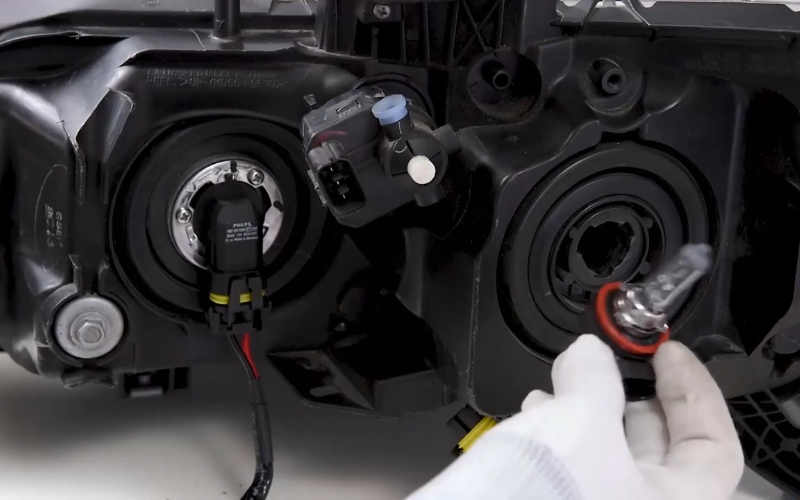
Step 3: Compare the LED With the Original Bulb
Check the locking tabs, O-ring position, connector, and overall length. The LED must seat fully in the same opening without forcing the base. SEALIGHT LED bulbs are engineered with 360° adjustable locking rings and ultra-thin chip placement to mirror factory halogen filaments precisely, eliminating dark spots and beam distortion.
If the product uses an adjustable collar, follow its instructions so the LED emitters align correctly after installation.
Step 4: Install the LED Bulb
Insert the LED into the housing and rotate it until it locks firmly. The bulb should sit flat and secure, with the weather seal compressed correctly.
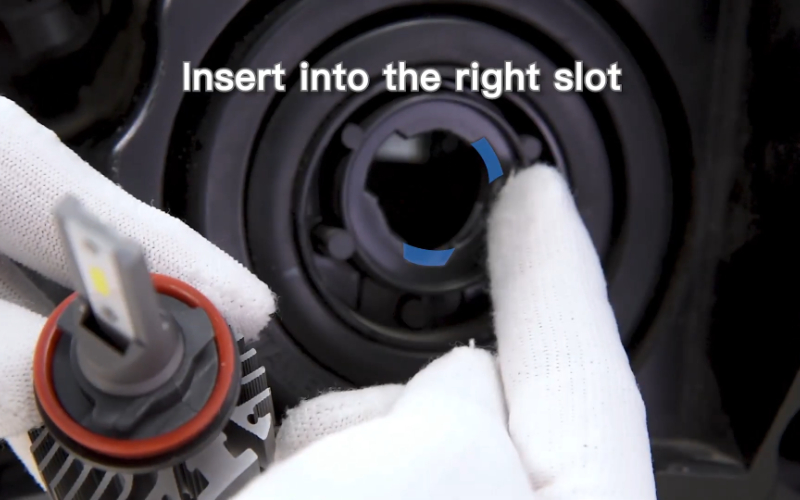
For many headlight designs, the LED emitters should face left and right rather than up and down. Follow the product-specific orientation instructions because the correct position depends on the bulb and housing.
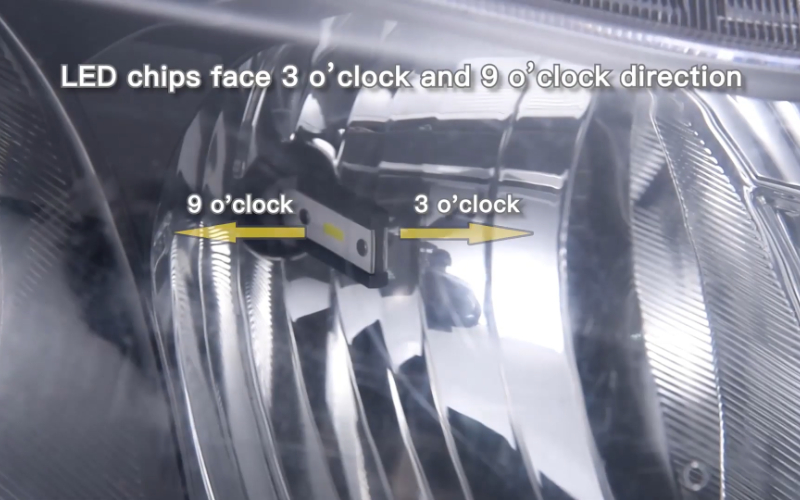
Step 5: Connect and Secure the Wiring
Connect the factory plug to the LED driver or bulb connector. Secure any external driver or decoder so it cannot contact a fan, belt, exhaust component, sharp edge, or other moving/hot part.
Keep the dust cap and seals fully closed. This is particularly important for vehicles exposed to rain, snow, slush, road salt, and repeated freeze-thaw cycles.
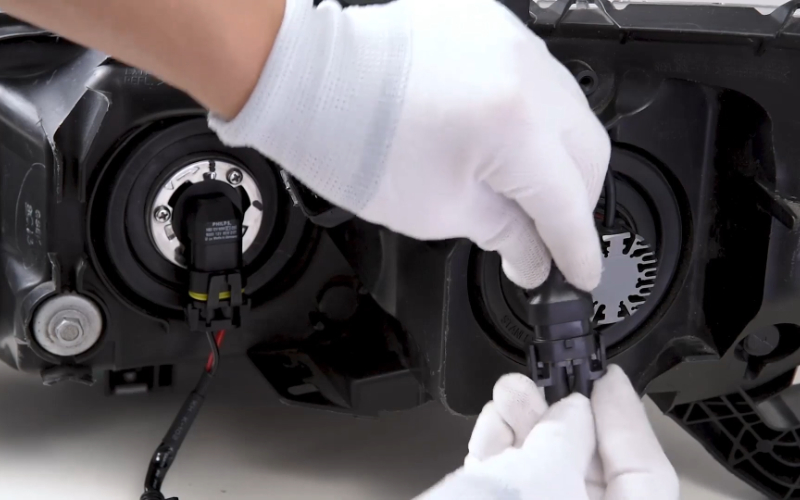
Step 6: Test the Lights
Before reinstalling removed trim or components, switch on the headlights and confirm stable operation on both sides.
Check for:
- Flicker
- One side failing to light
- Dashboard bulb warnings
- Unusual fan noise
- Loose connectors
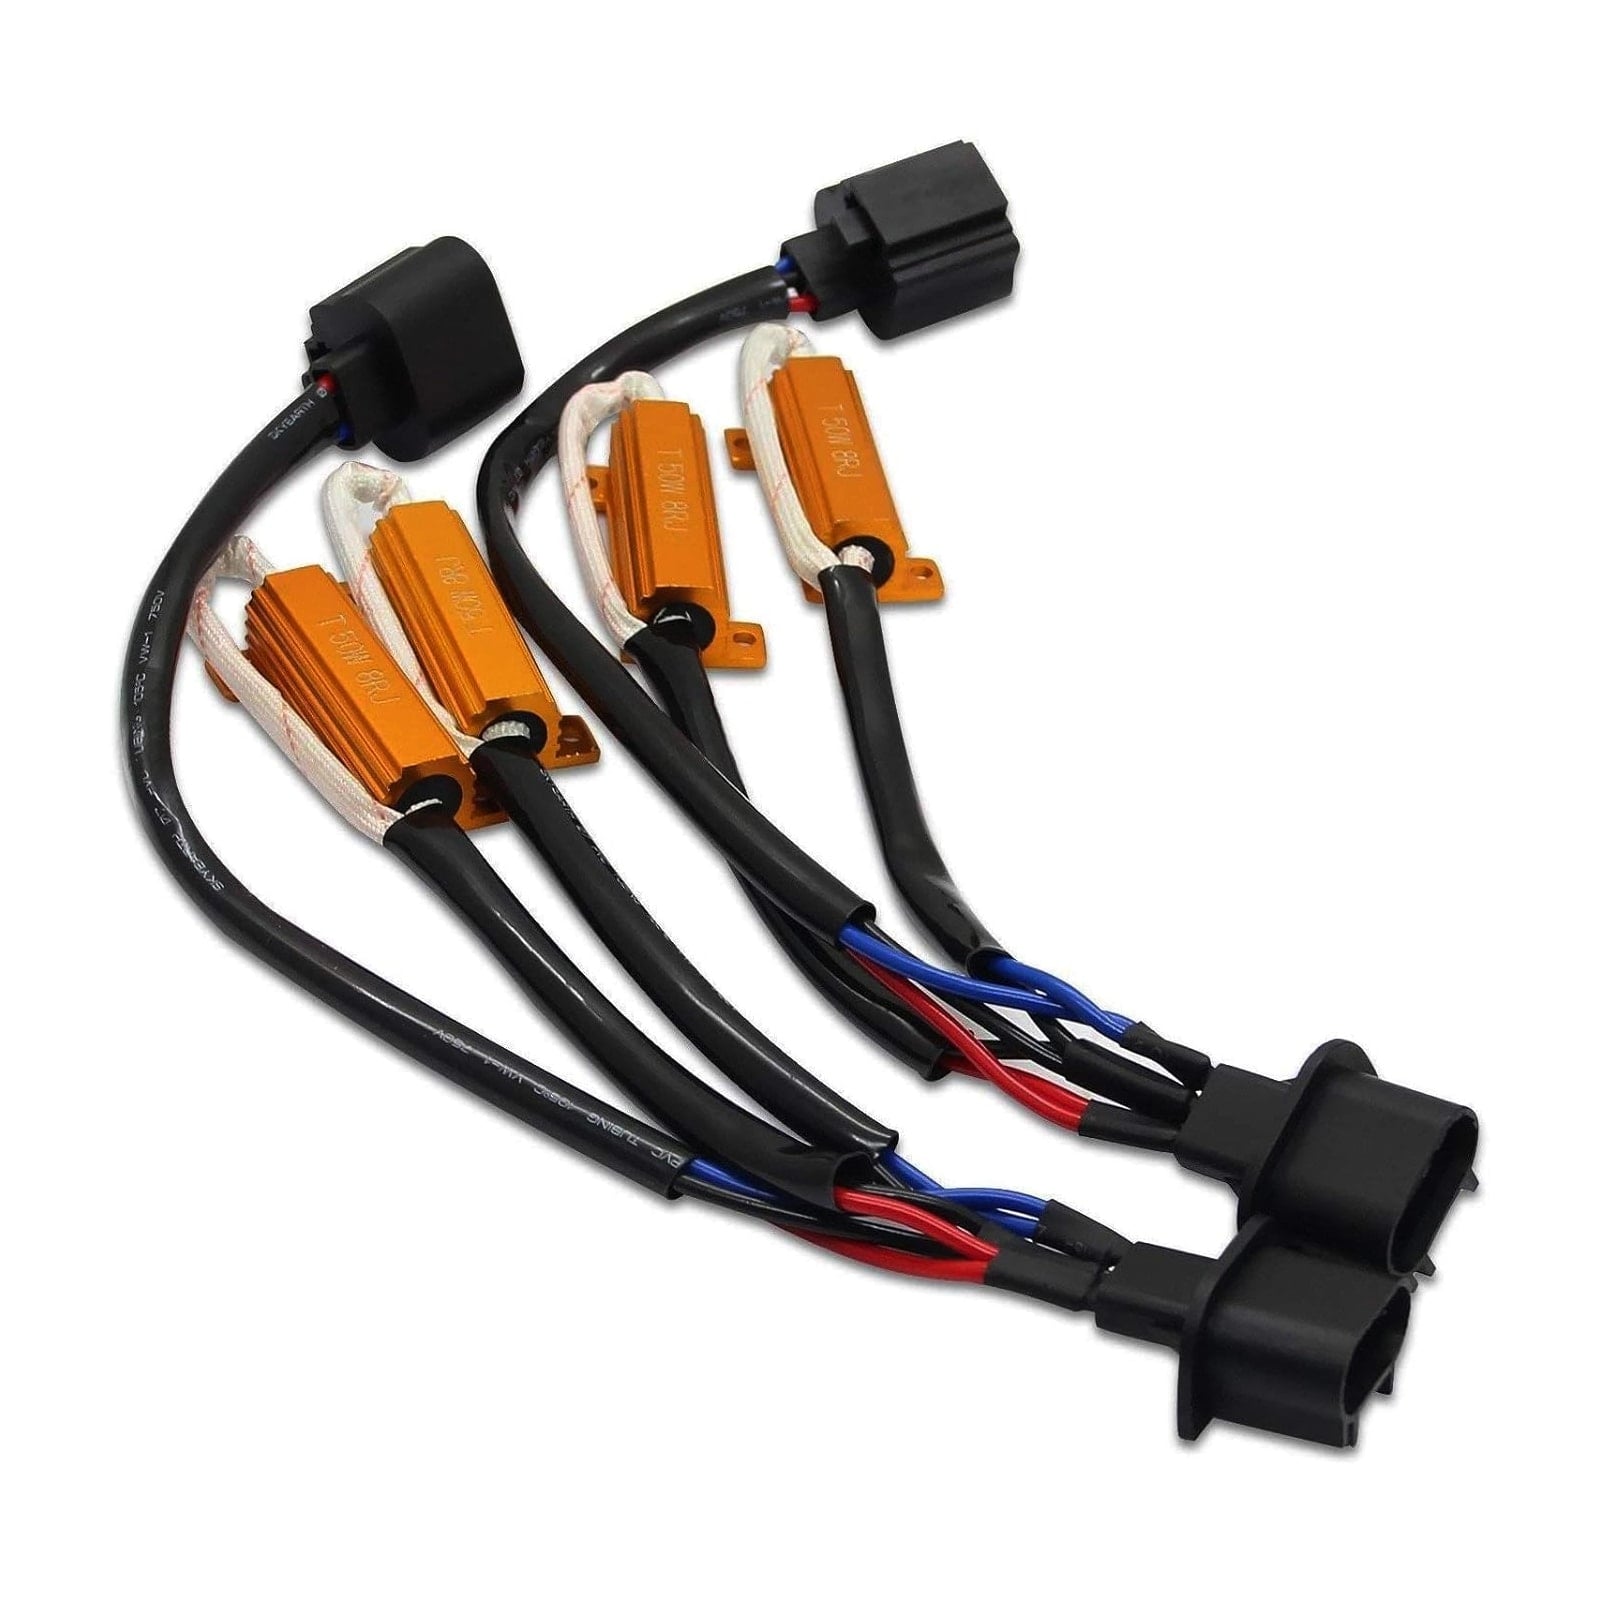
If the LED flickers or triggers a bulb-out warning, verify the connection first. Some vehicles may require a compatible CANbus decoder or resistor.
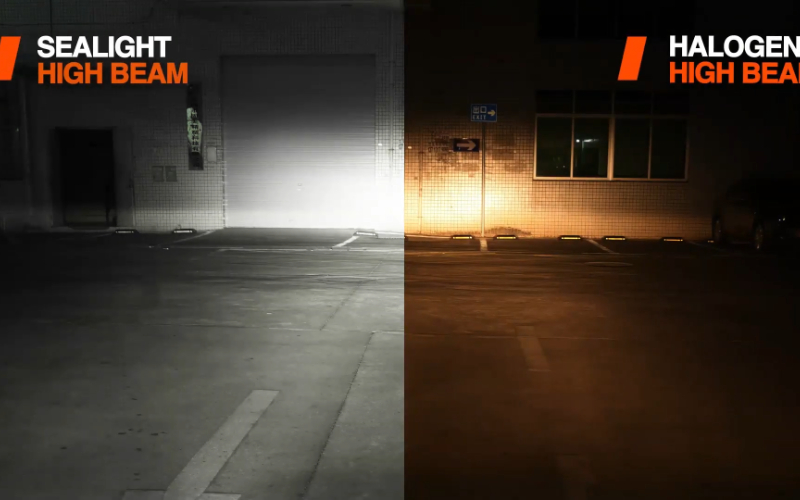
Step 7: Check Beam Pattern and Aim
Park the vehicle on a level surface facing a wall. Compare the new low-beam cutoff with the reference position from before installation.
A brighter bulb should not send more light into oncoming traffic. If the cutoff is uneven or unusually high, recheck bulb orientation and seating before adjusting the headlight assembly.
Common Installation Problems
The Bulb Will Not Lock In
Recheck the bulb number and tab orientation. Do not file or trim the base unless the manufacturer explicitly provides a supported fitment procedure.
The Dust Cap Will Not Close
The LED may be too long for the available housing space. Use a more compact bulb design rather than leaving the housing open to moisture. If space is limited, consider a 1:1 mini-sized design like SEALIGHT compact H11 LED bulbs that easily fit inside factory dust caps without extra modification.
The LED Flickers
Confirm the connector is secure and the charging system is stable. If the vehicle uses bulb monitoring or PWM control, a compatible decoder may be required.
The Beam Looks Scattered
Remove and reseat the bulb. Incorrect emitter orientation or incomplete locking can move the light source away from the housing's focal point.
Frequently Asked Questions
Can H11, H9, and H8 LED bulbs use the same installation process?
The general process is similar, especially when one LED product supports multiple sizes. Vehicle access and exact base details still vary.
Do I need to disconnect the battery?
For many bulb replacements, switching off the ignition and lights is sufficient, but follow the vehicle manufacturer's service guidance when electrical work or component removal requires battery disconnection.
Do I need a CANbus decoder?
Only when the vehicle has a confirmed compatibility issue such as flicker, warning messages, or unstable operation.
How do I know if the LED is aimed correctly?
Check the beam cutoff against a flat wall and compare both sides. If the pattern changed dramatically after installation, inspect bulb seating and orientation before adjusting the housing.
Final Checklist
Confirm the correct bulb size, secure every connector, close the weather seals, test both lights, and verify the beam pattern. A careful installation helps an H11/H9/H8 LED upgrade deliver useful road illumination without glare or moisture-related problems.